We recommend using the Gel soaking method with dsGreen by Lumiprobe® or other dsDNA binding benzothiazole dyes. Some difference between different possible staining approaches is described in this article.
Step 1.
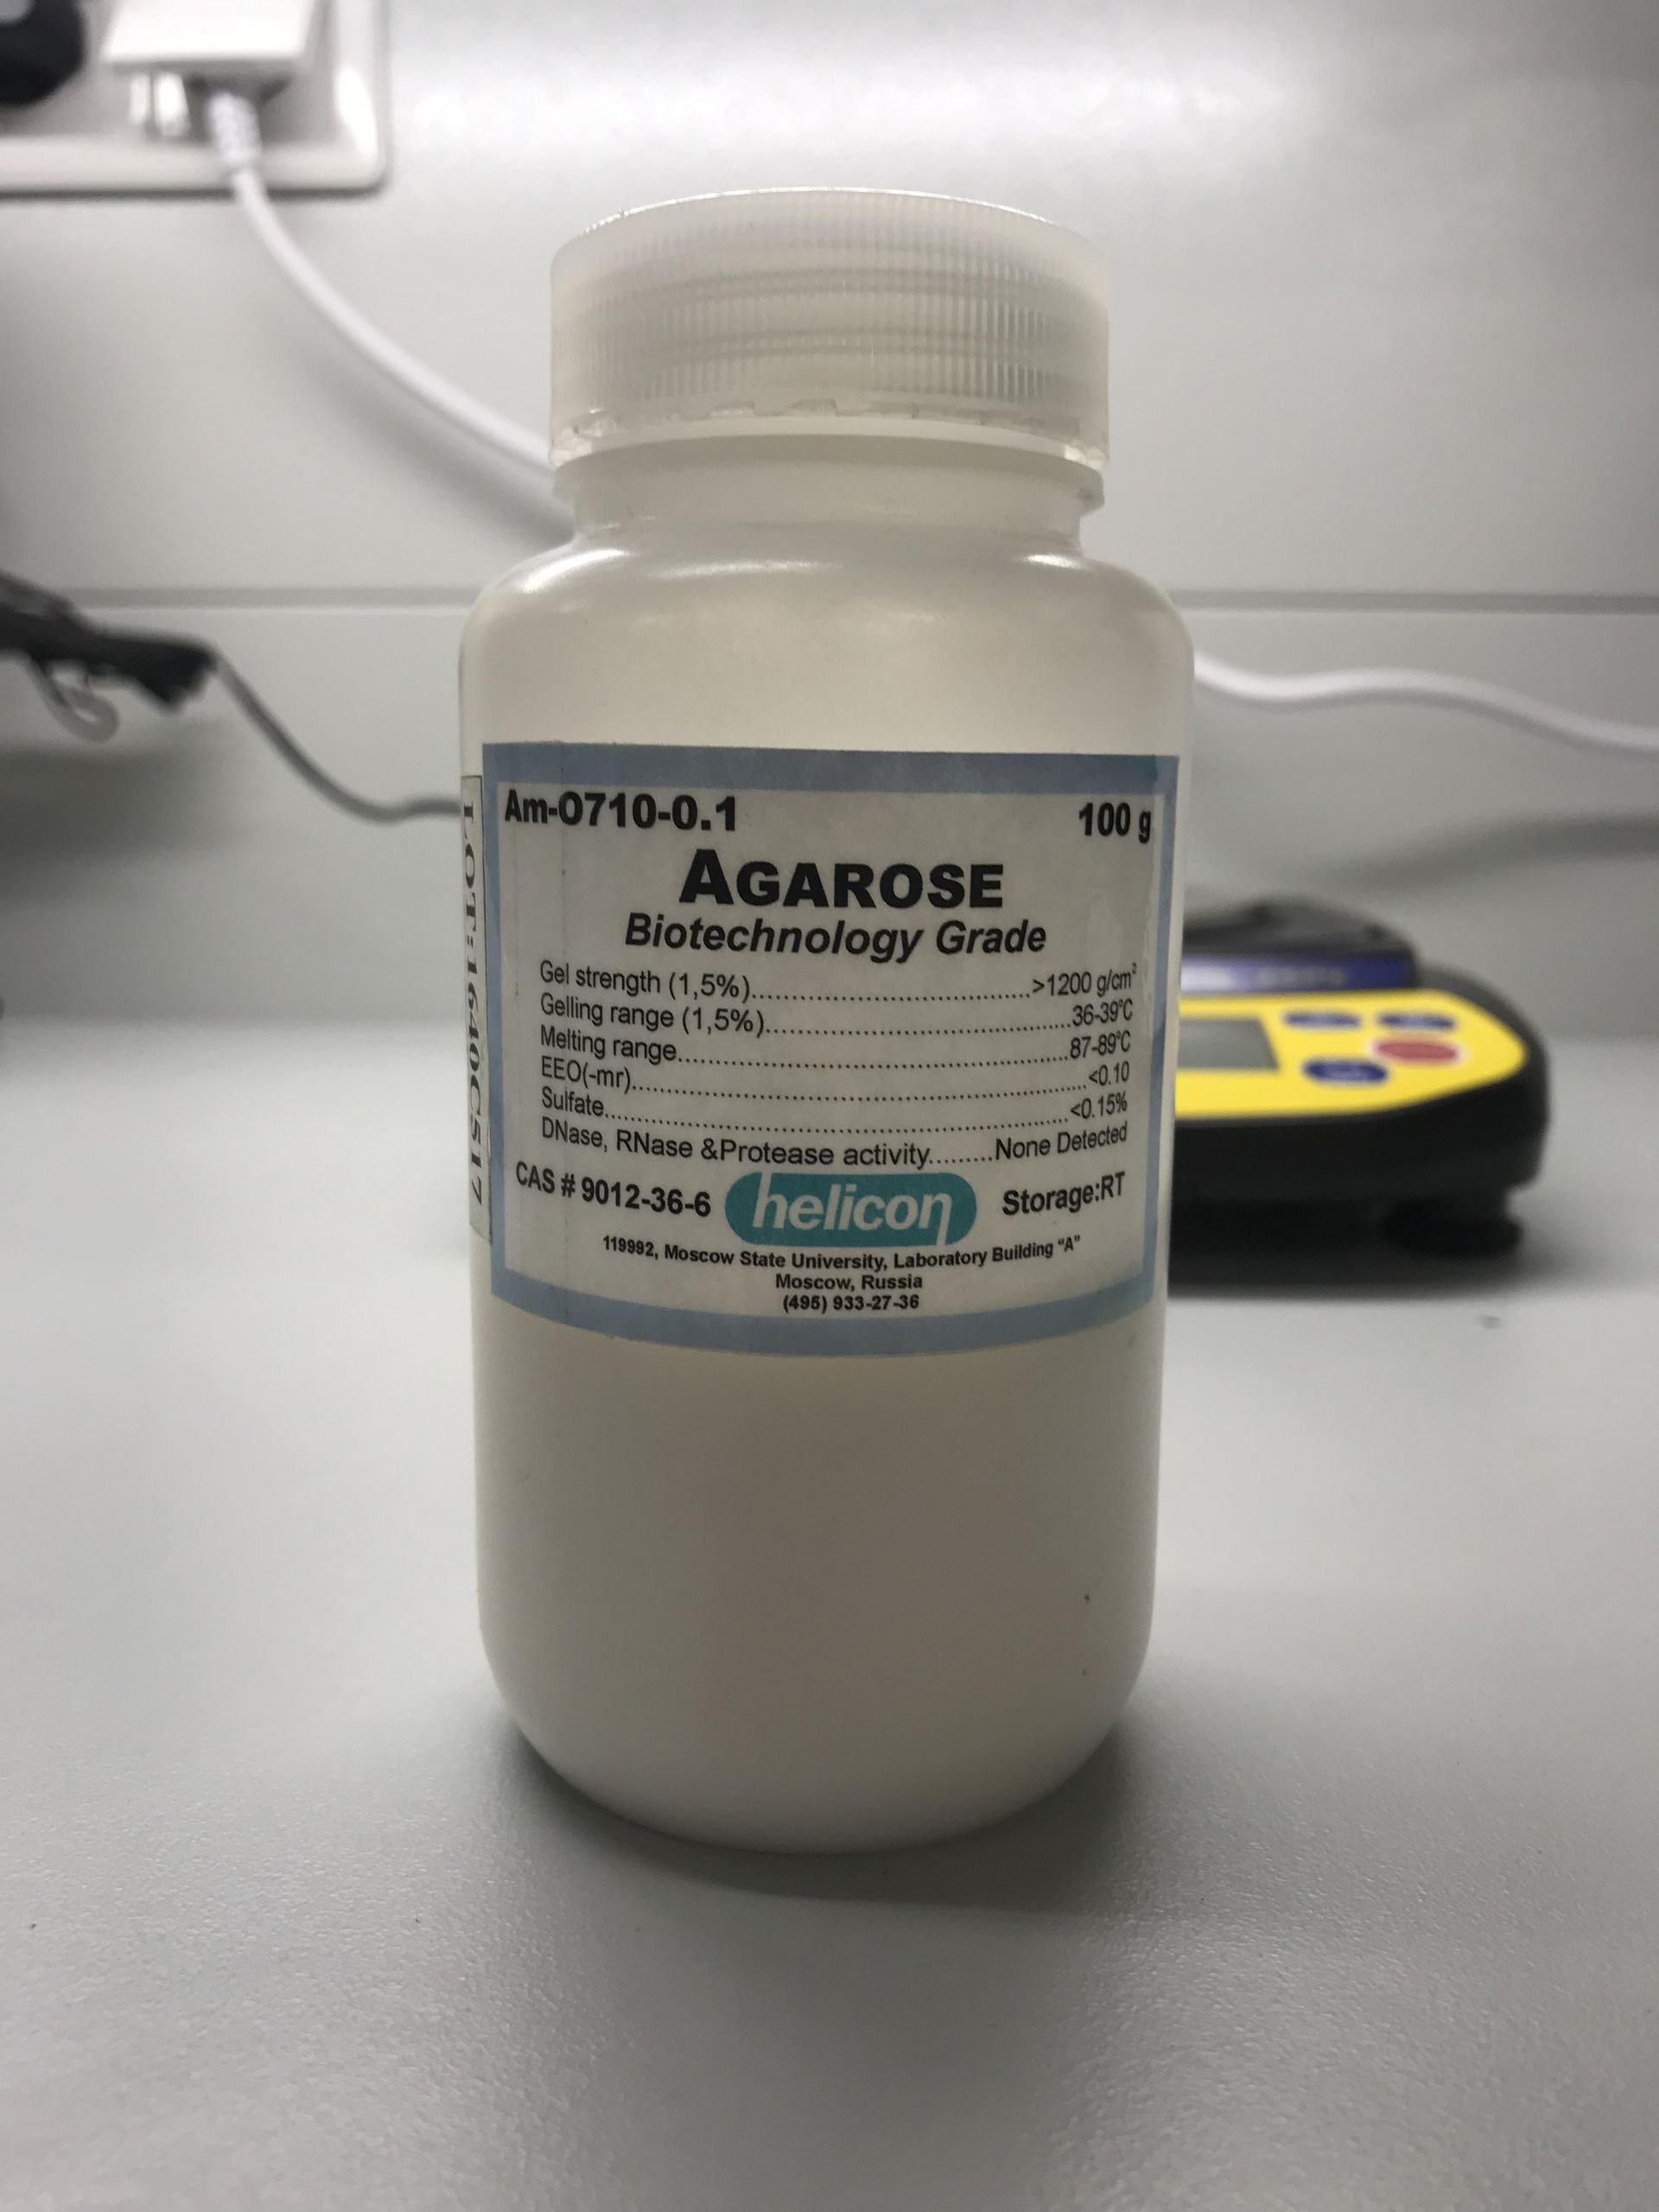
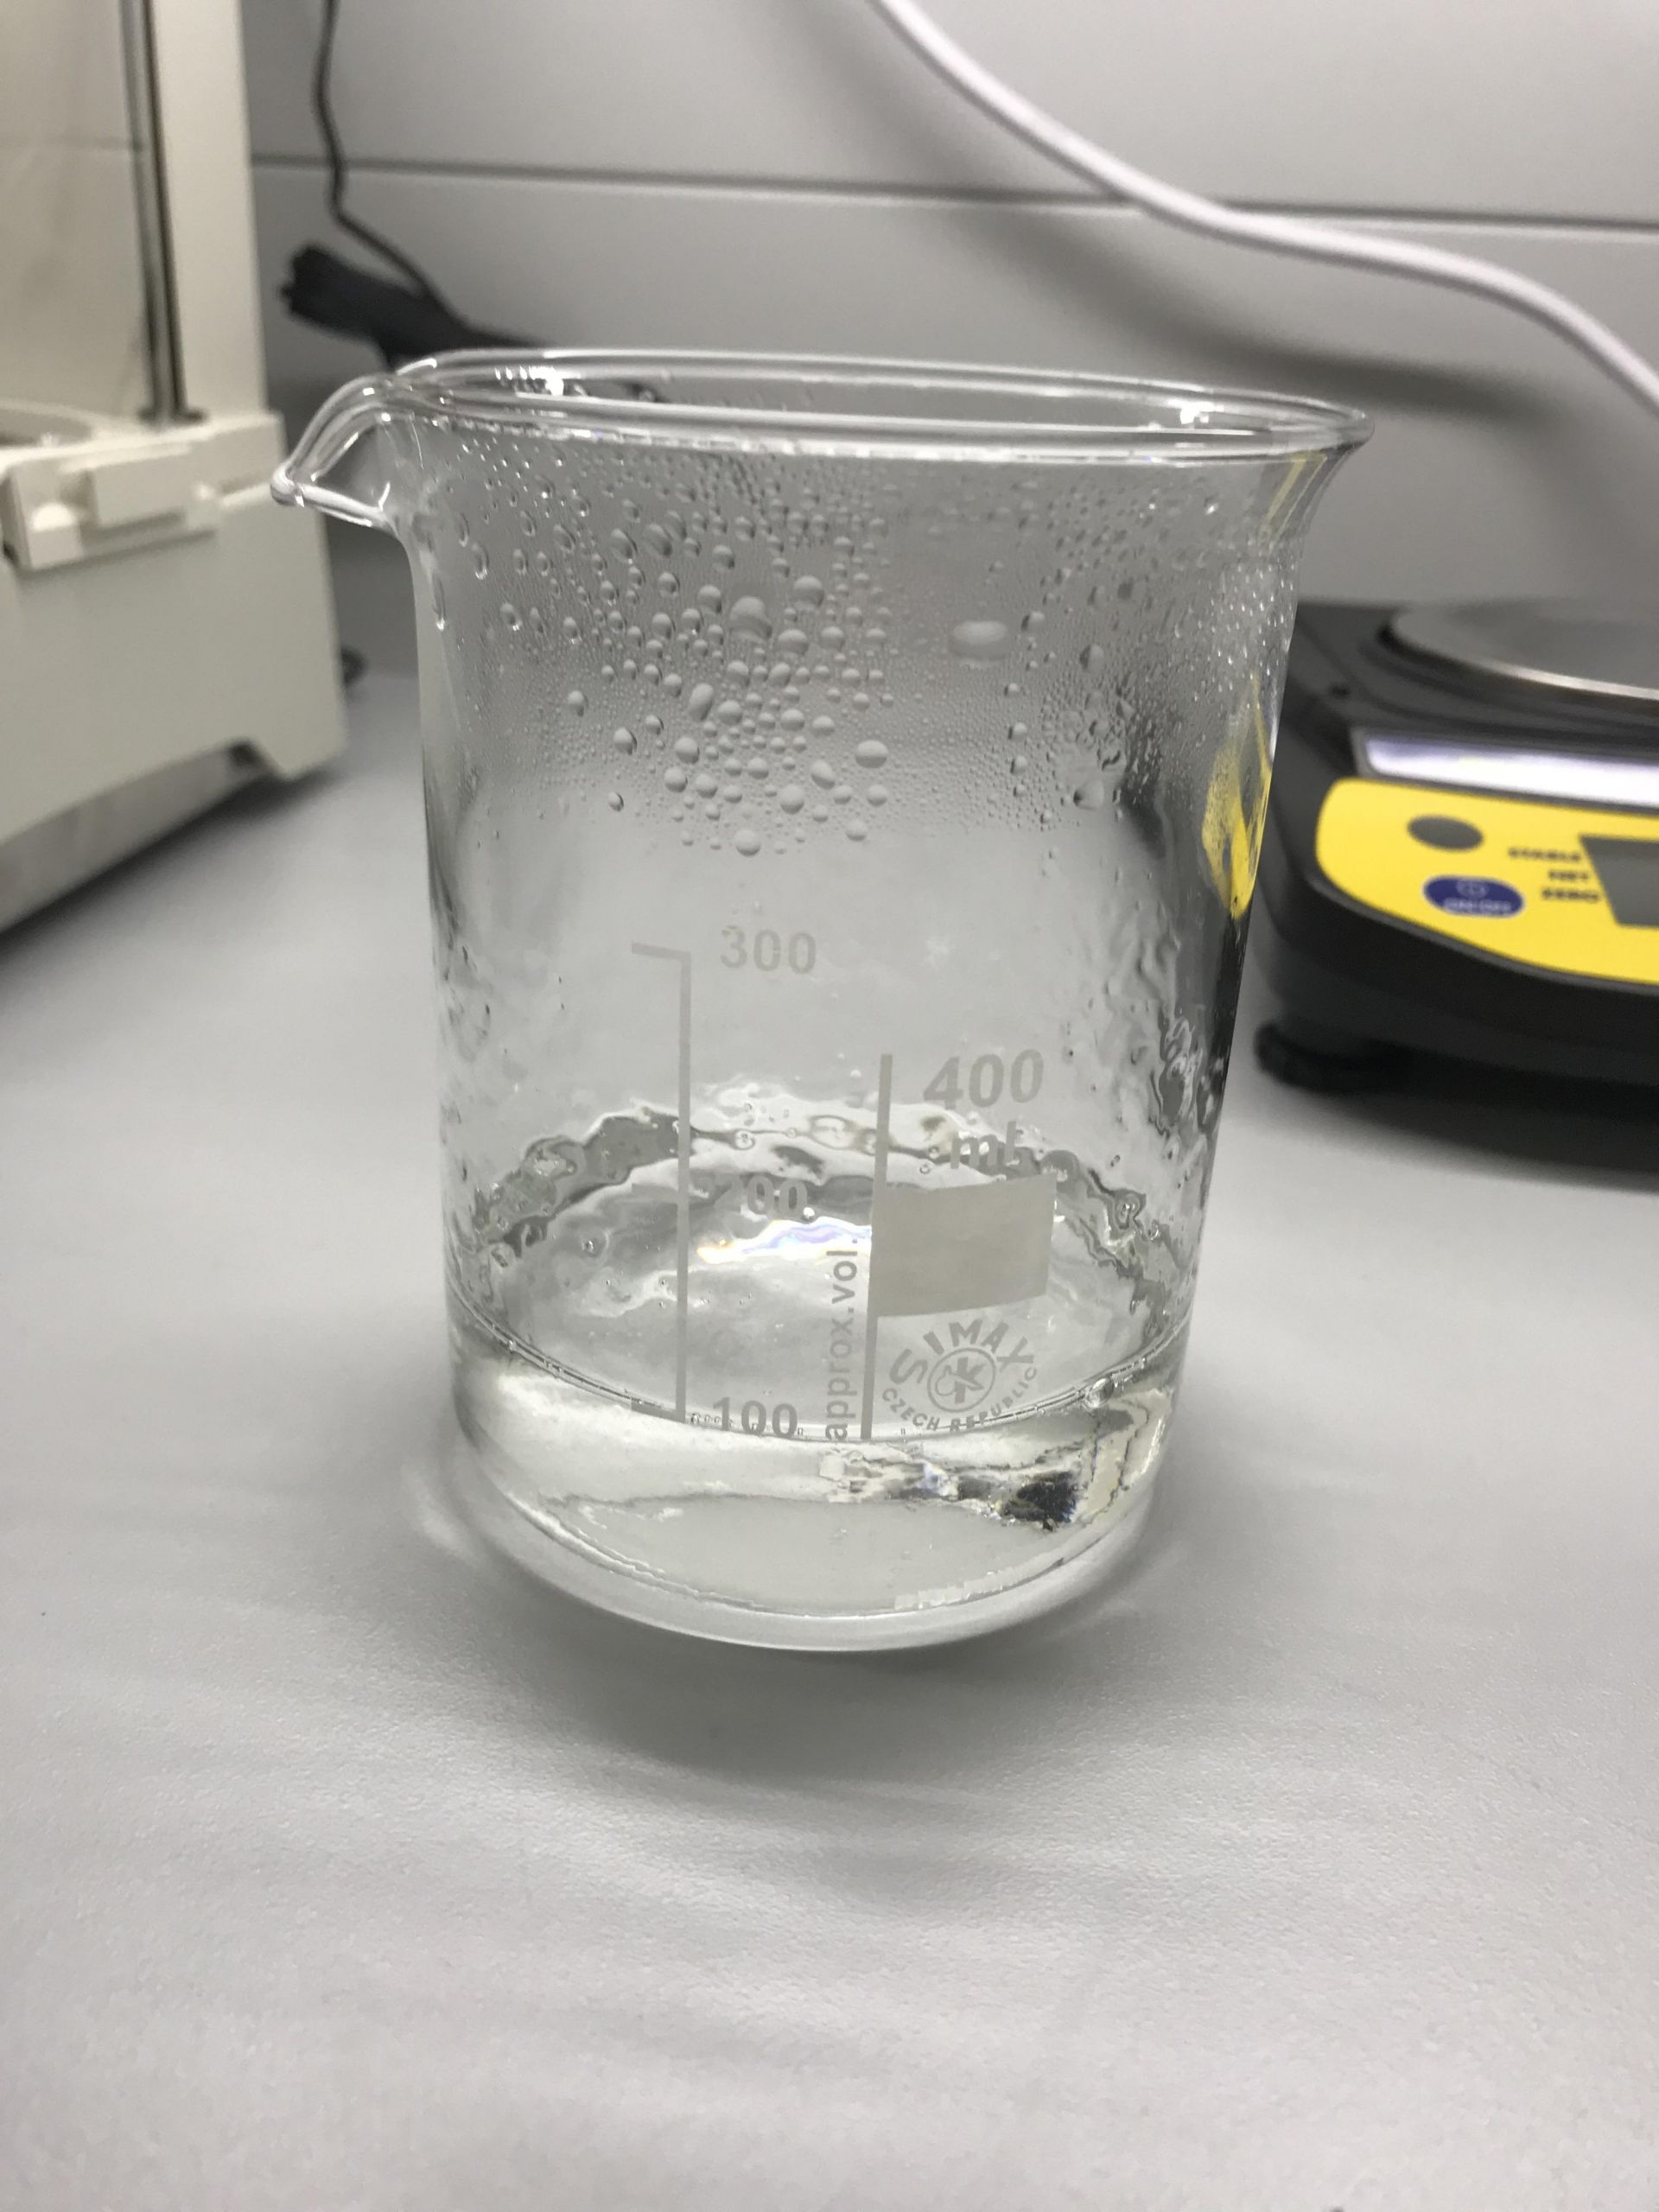
To prepare approx. 100g of 1,5% agarose gel measure 1,5g of stock agarose.
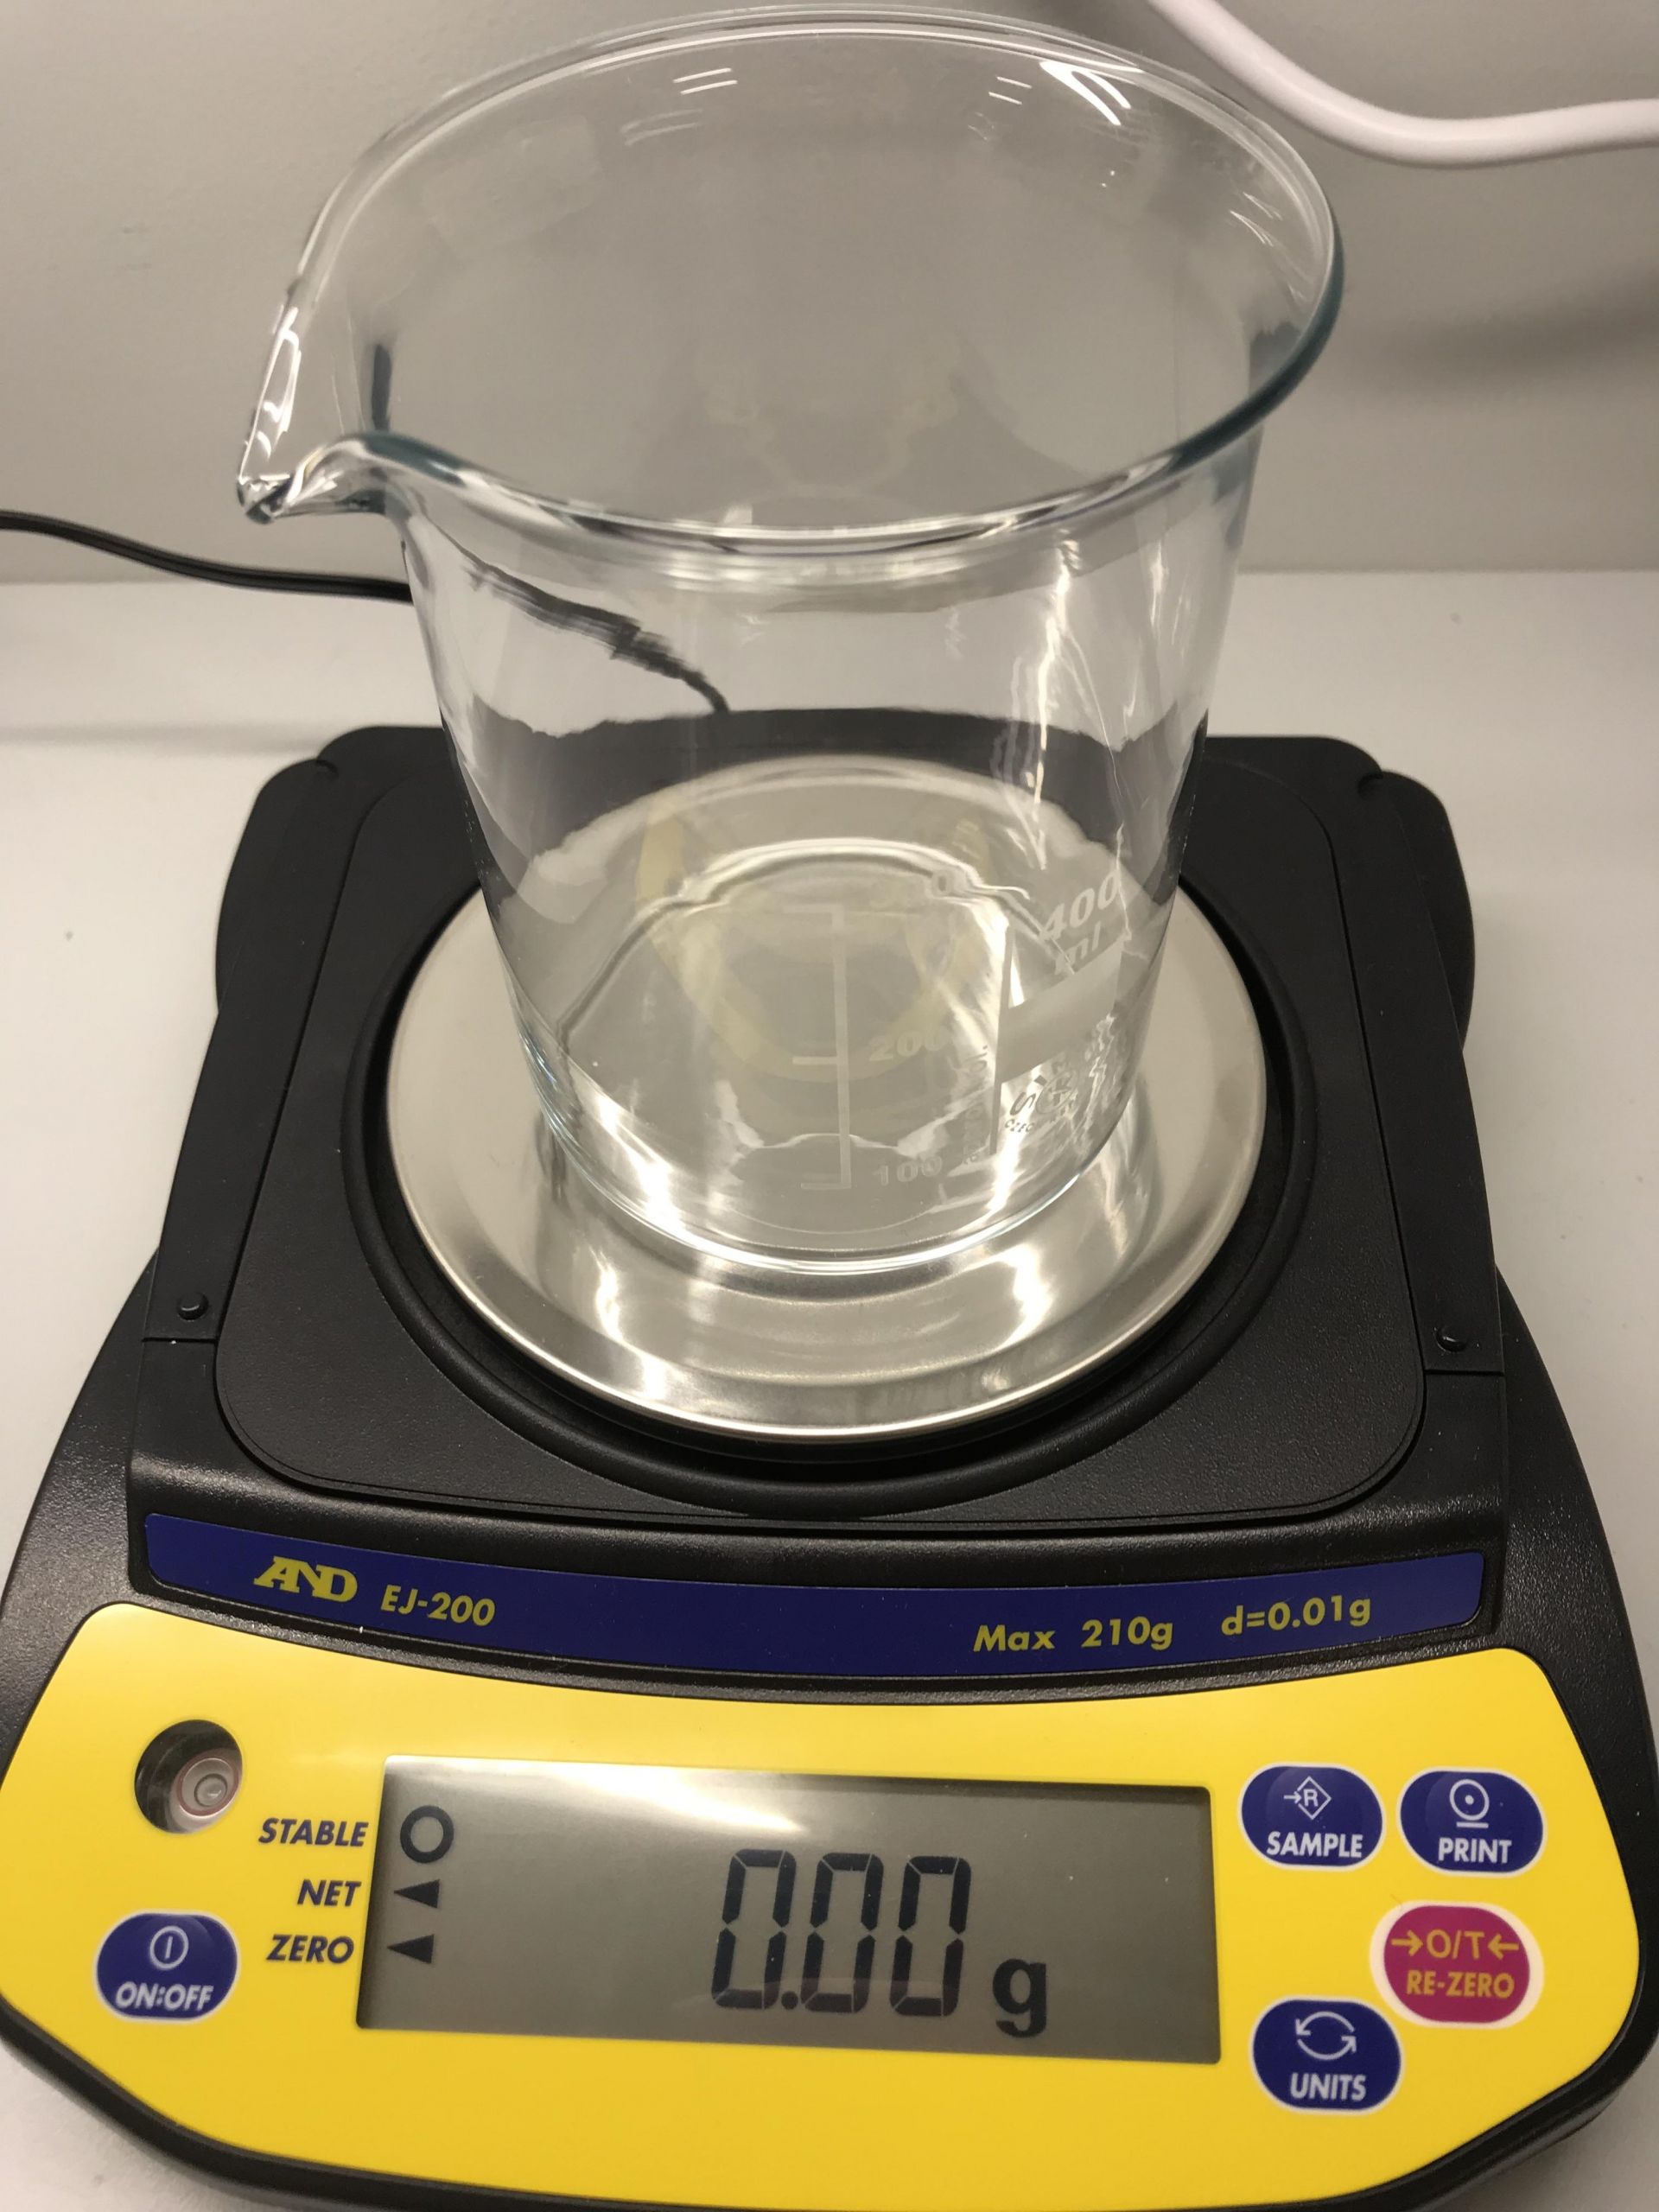
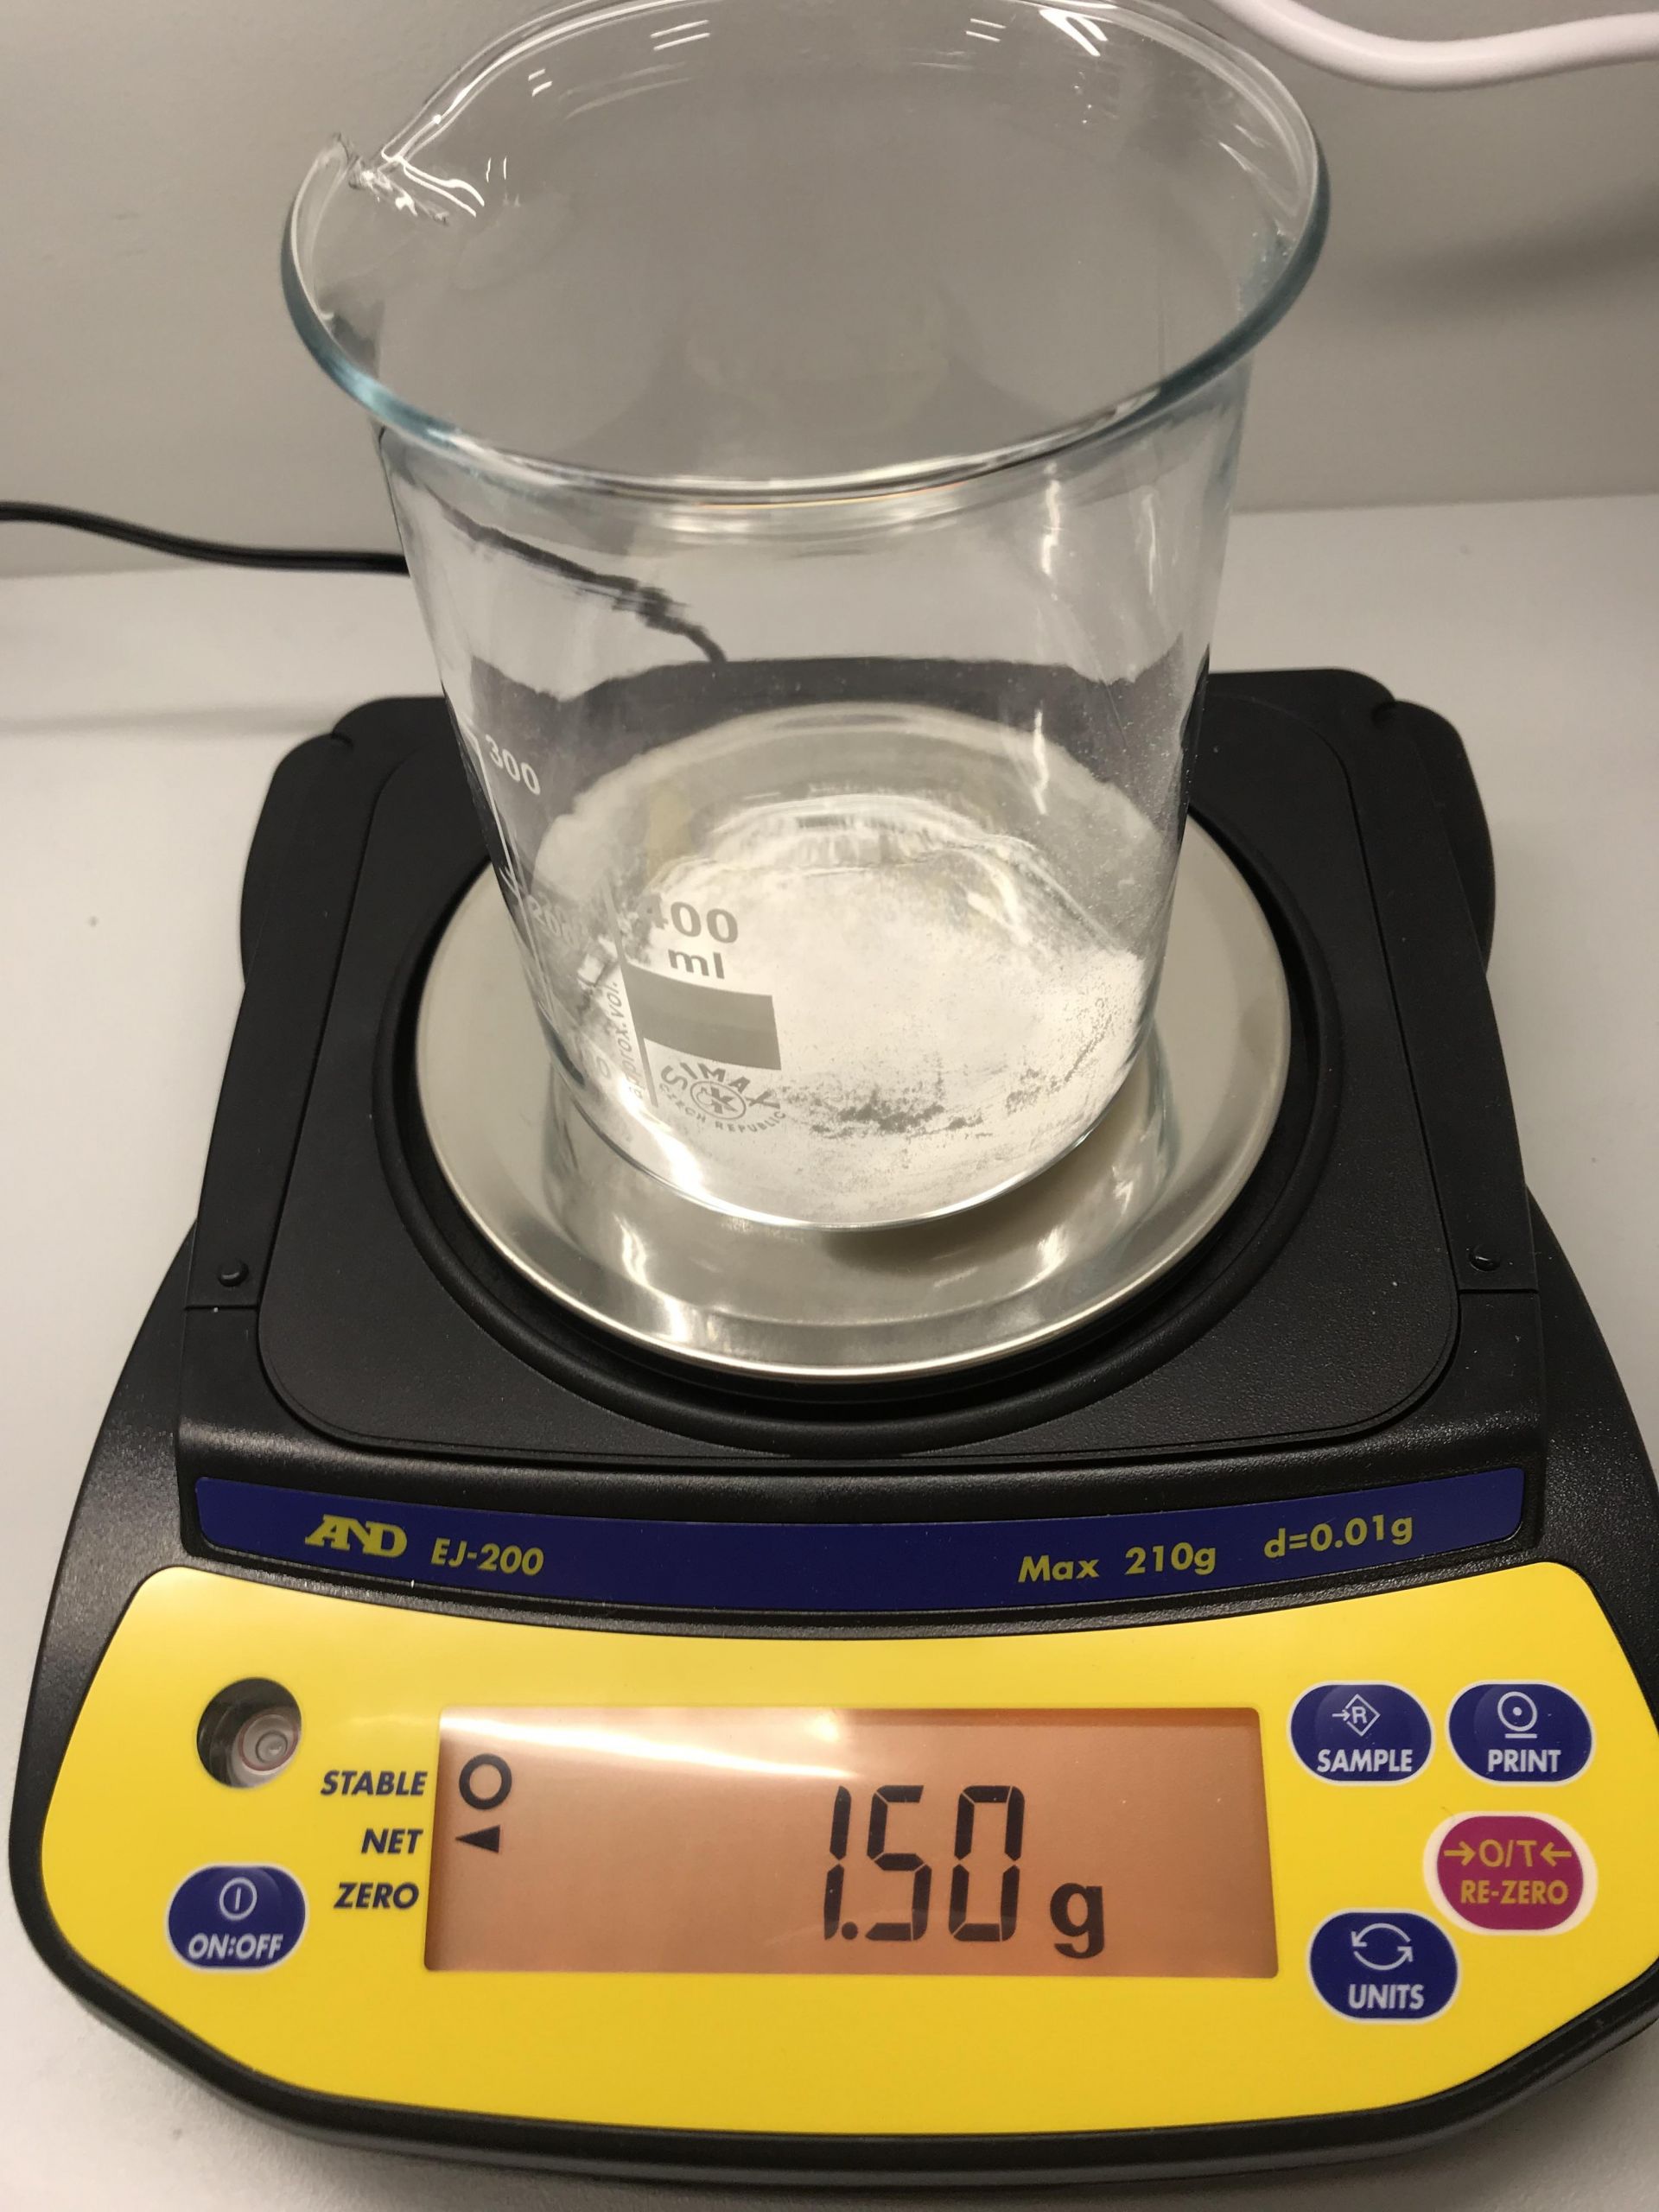
Step 2.
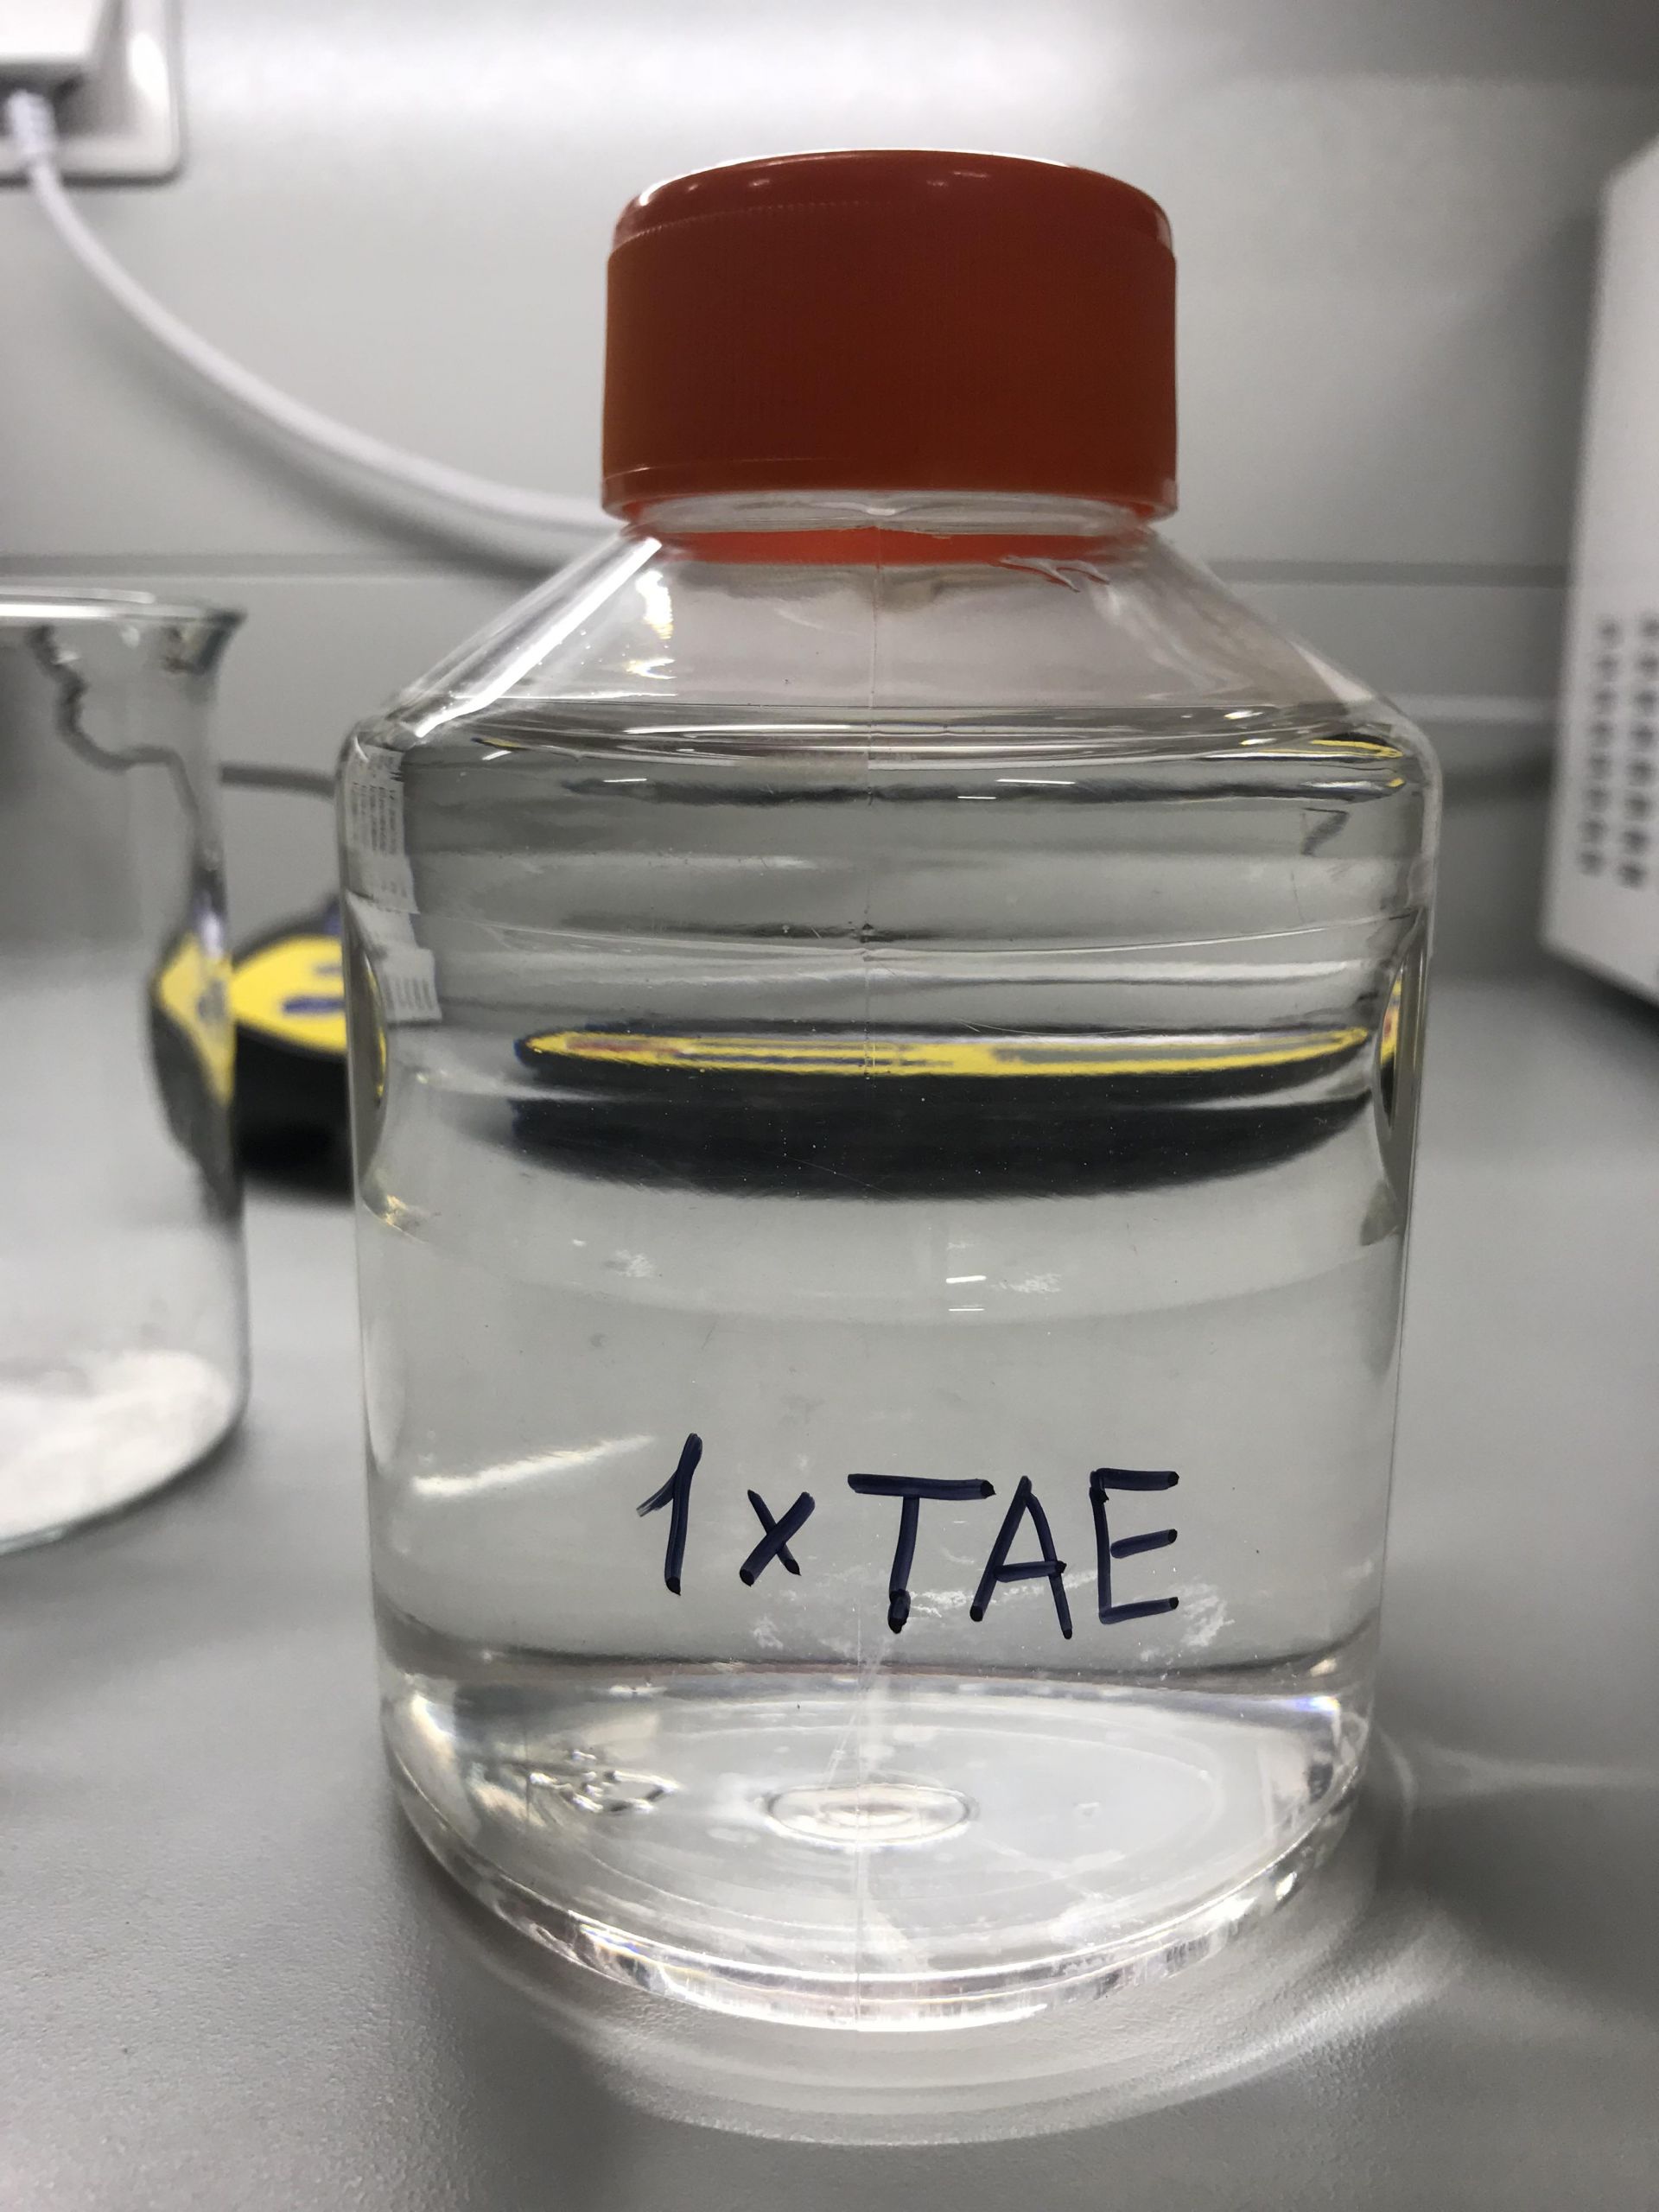
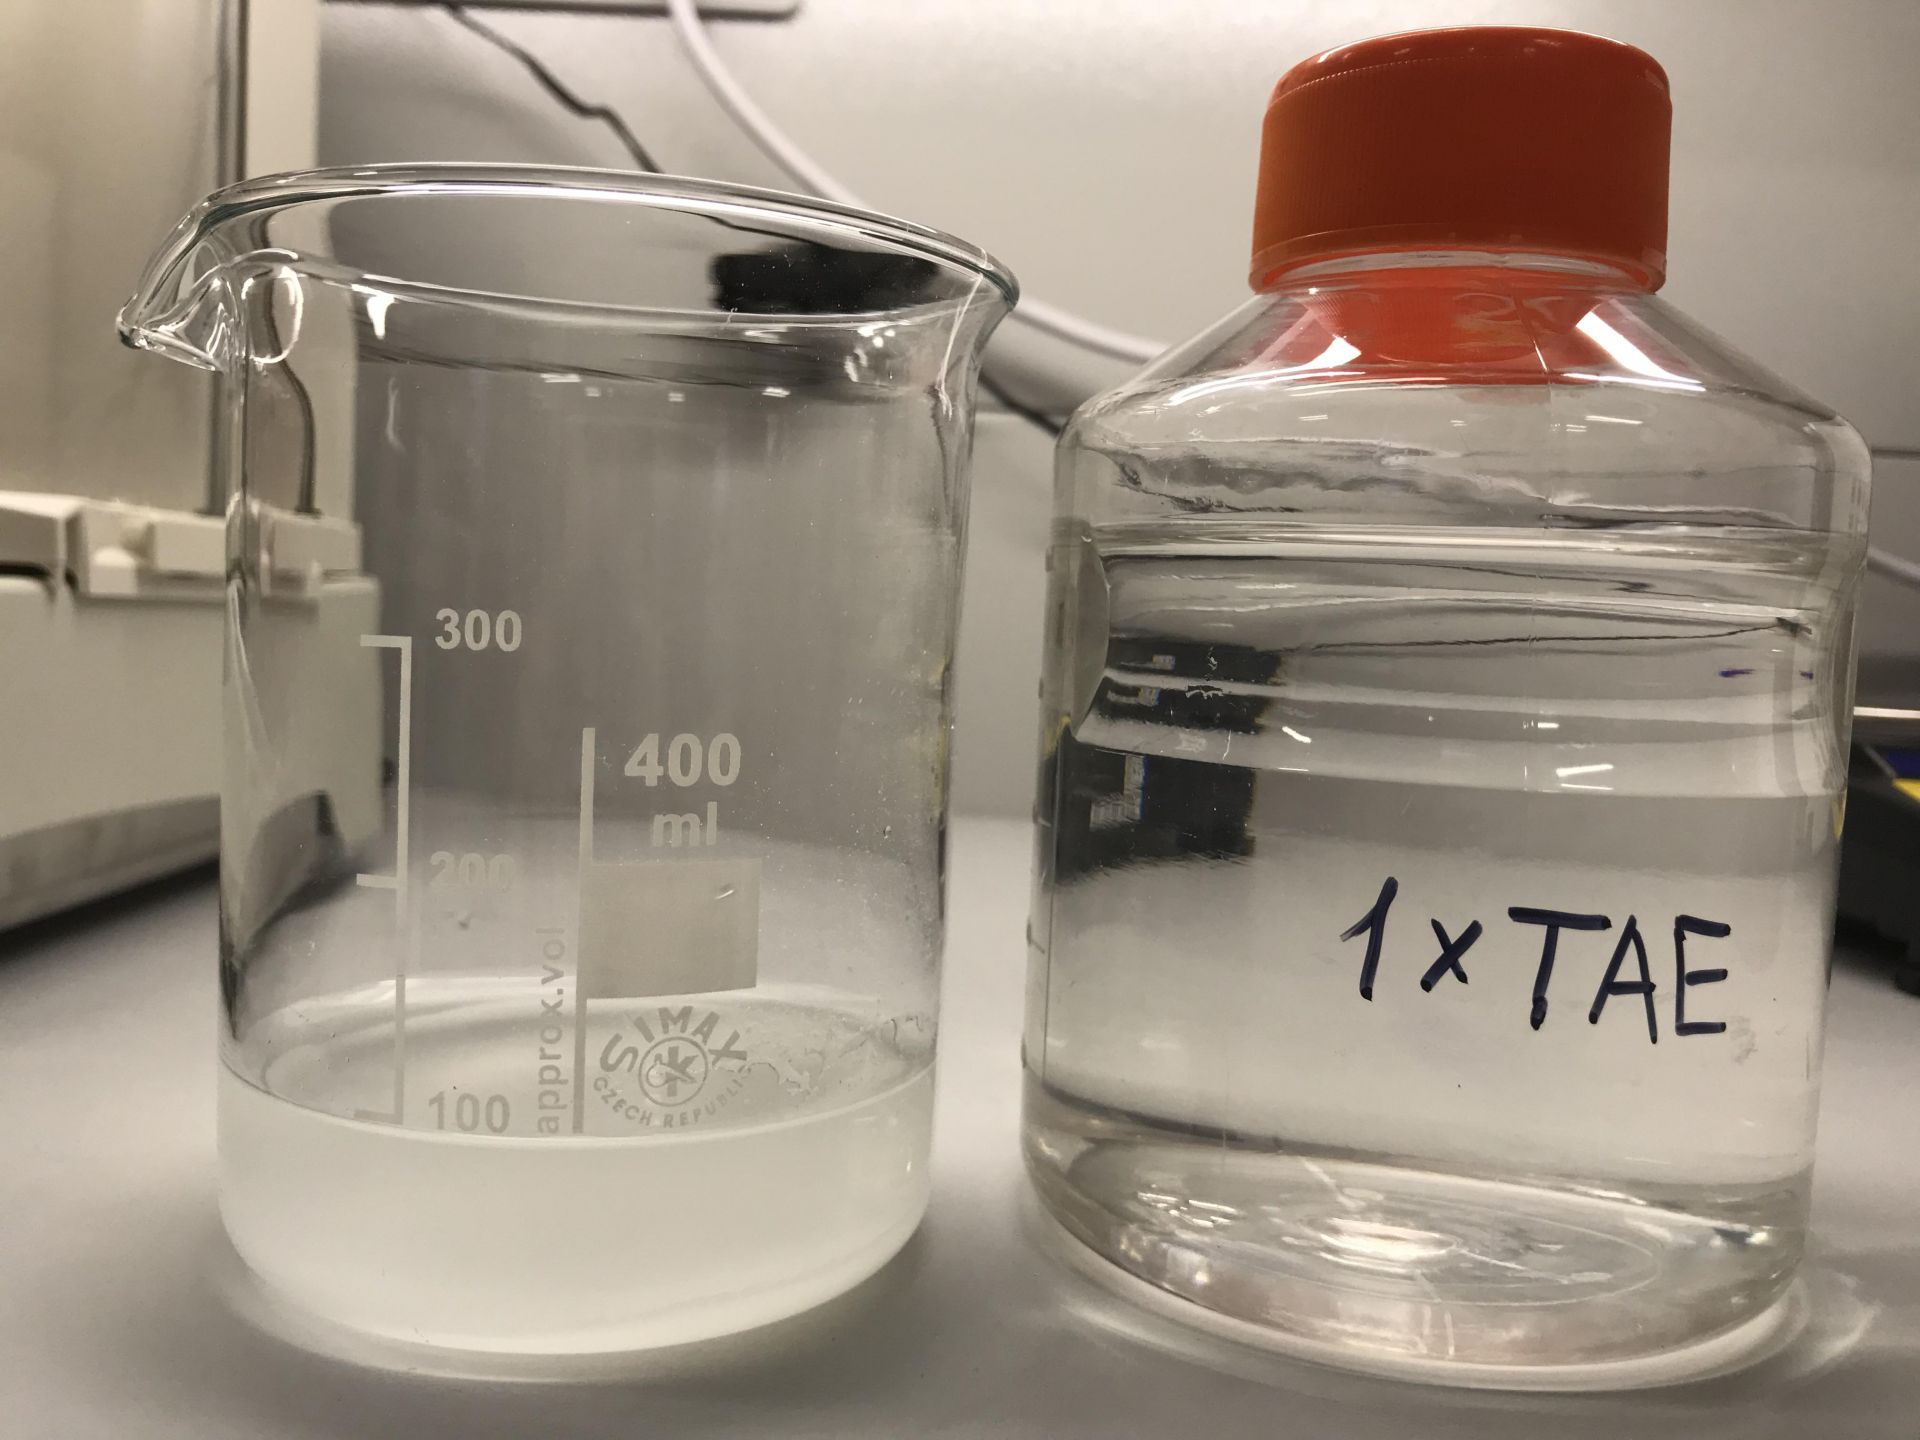
Mix agarose powder with 100mL 1xTAE buffer.
Step 3.
Microwave for 1-3 minutes until the agarose is completely dissolved. And let the agarose solution cool down till you can comfortably keep your hand on the flask.
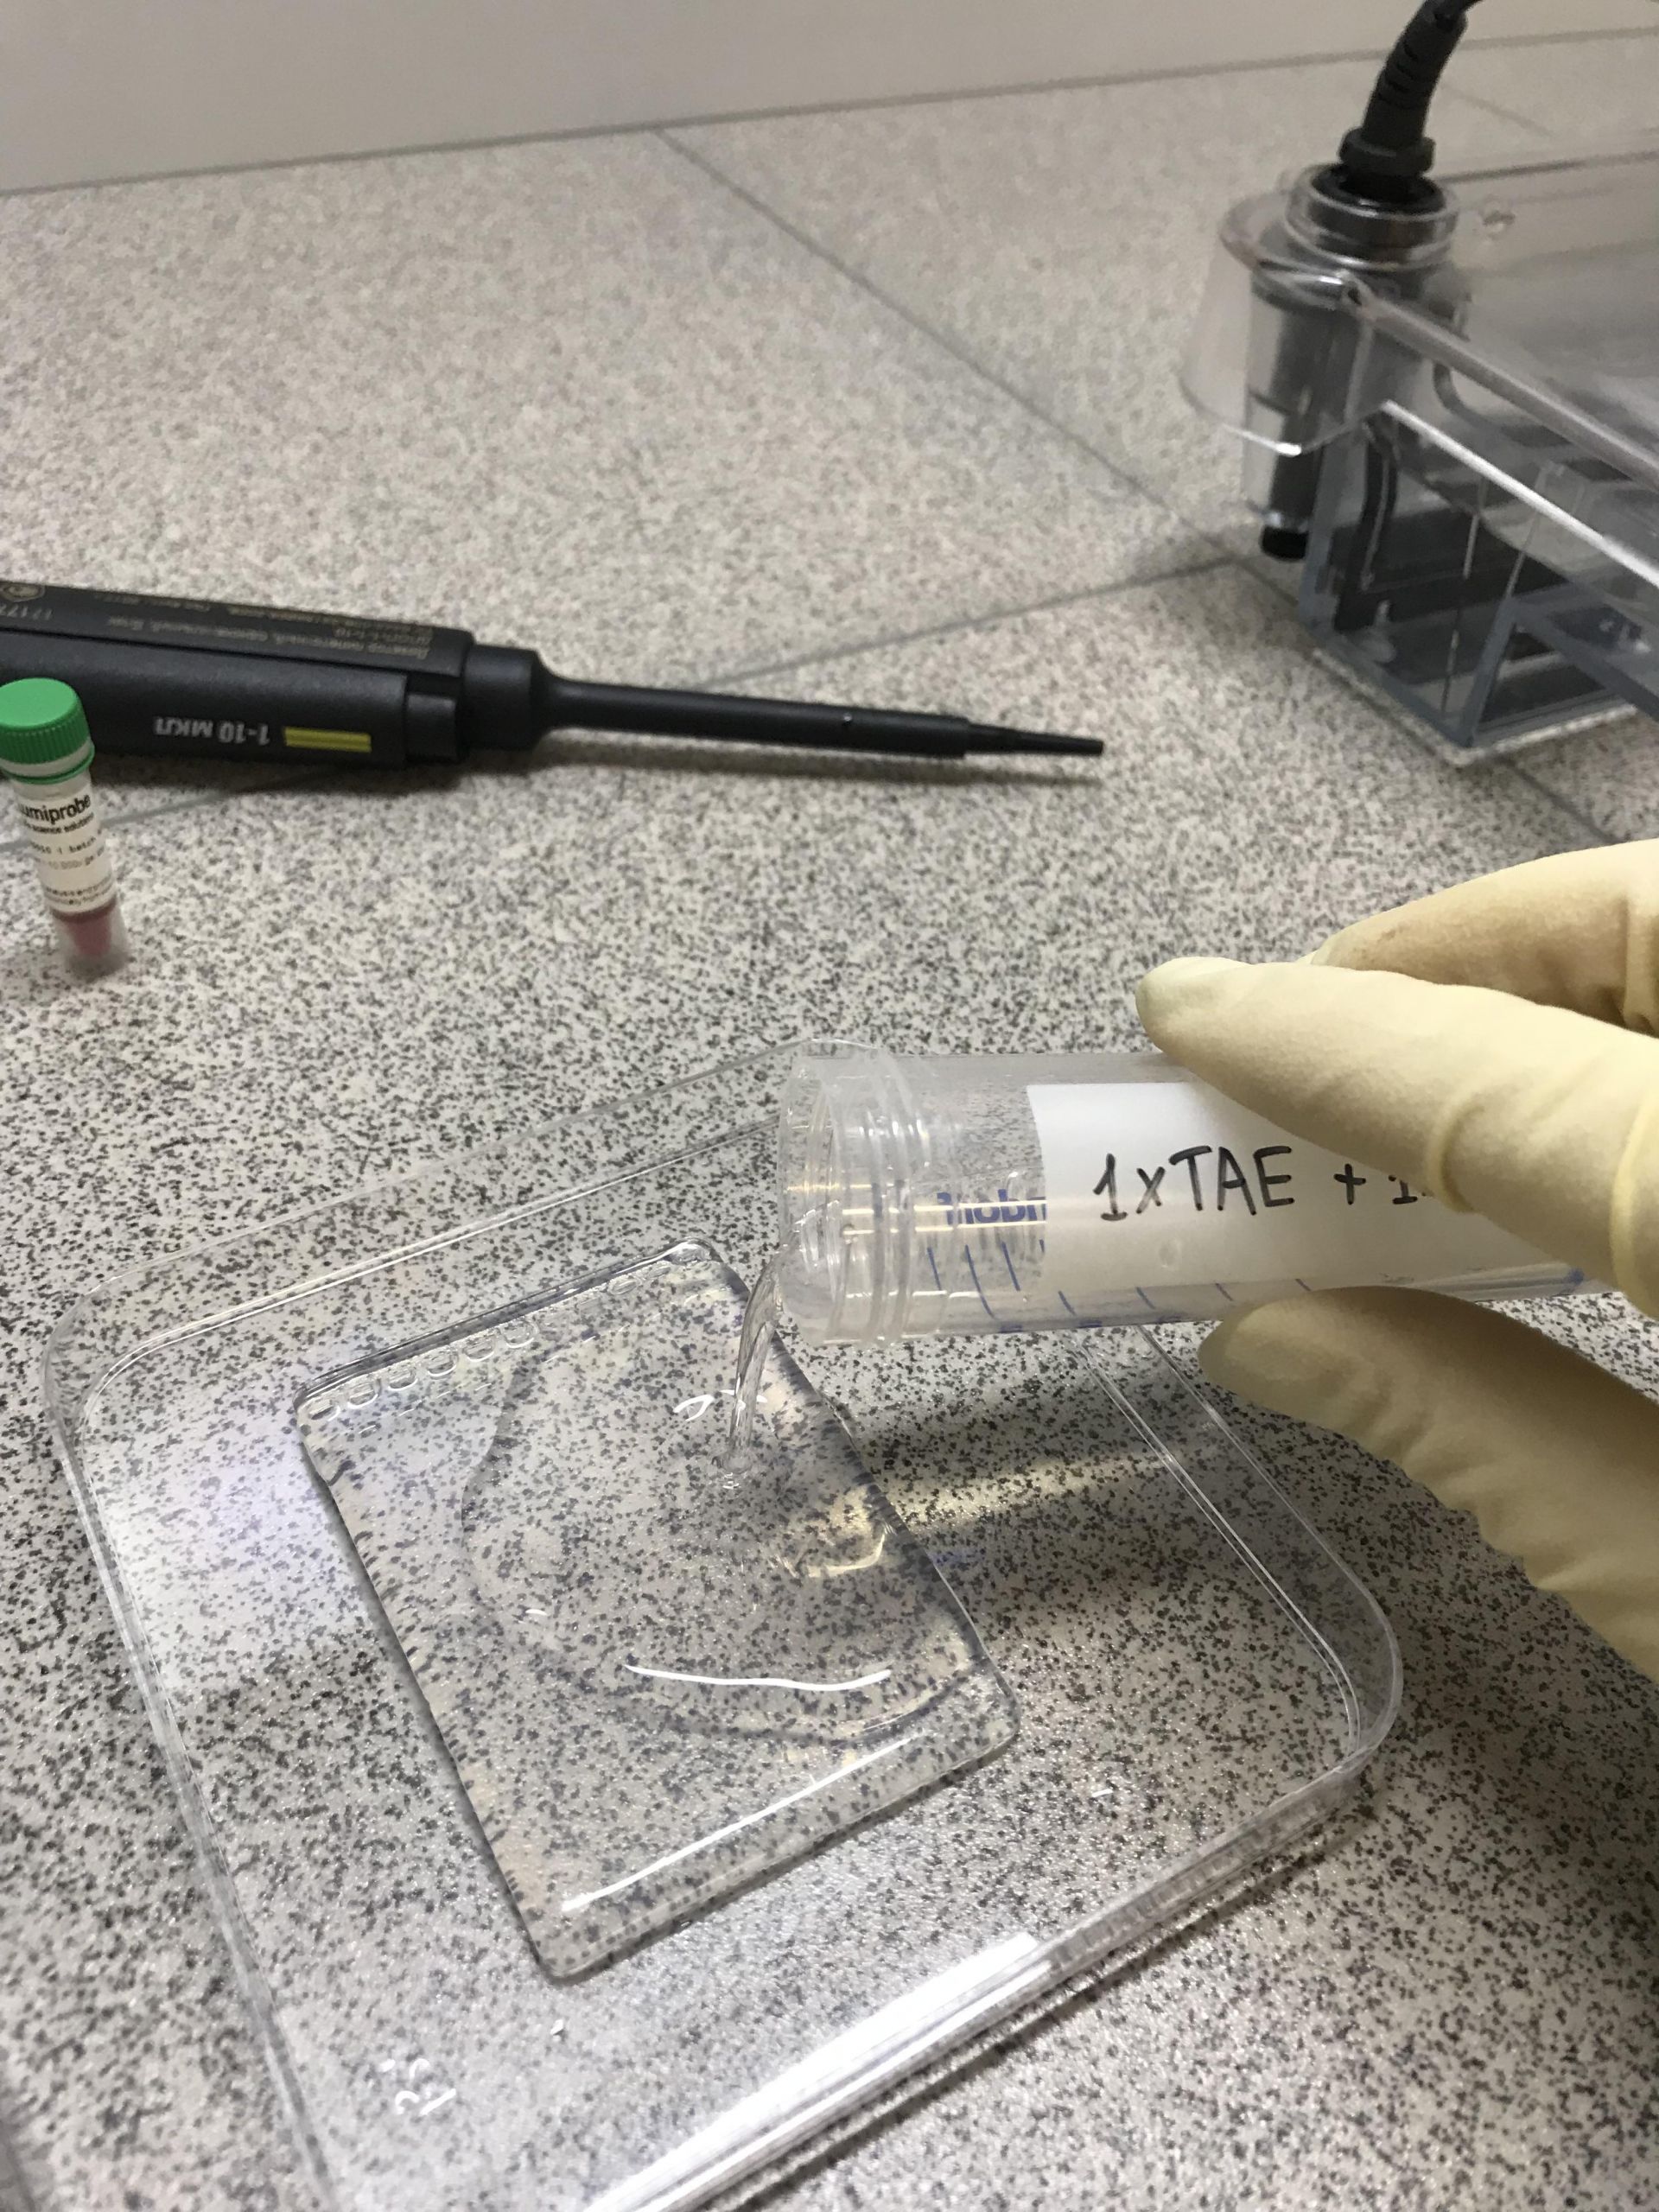
Step 4.
Pour the agarose into a gel tray with the well comb in place. Wait till the gel is completely solidified.


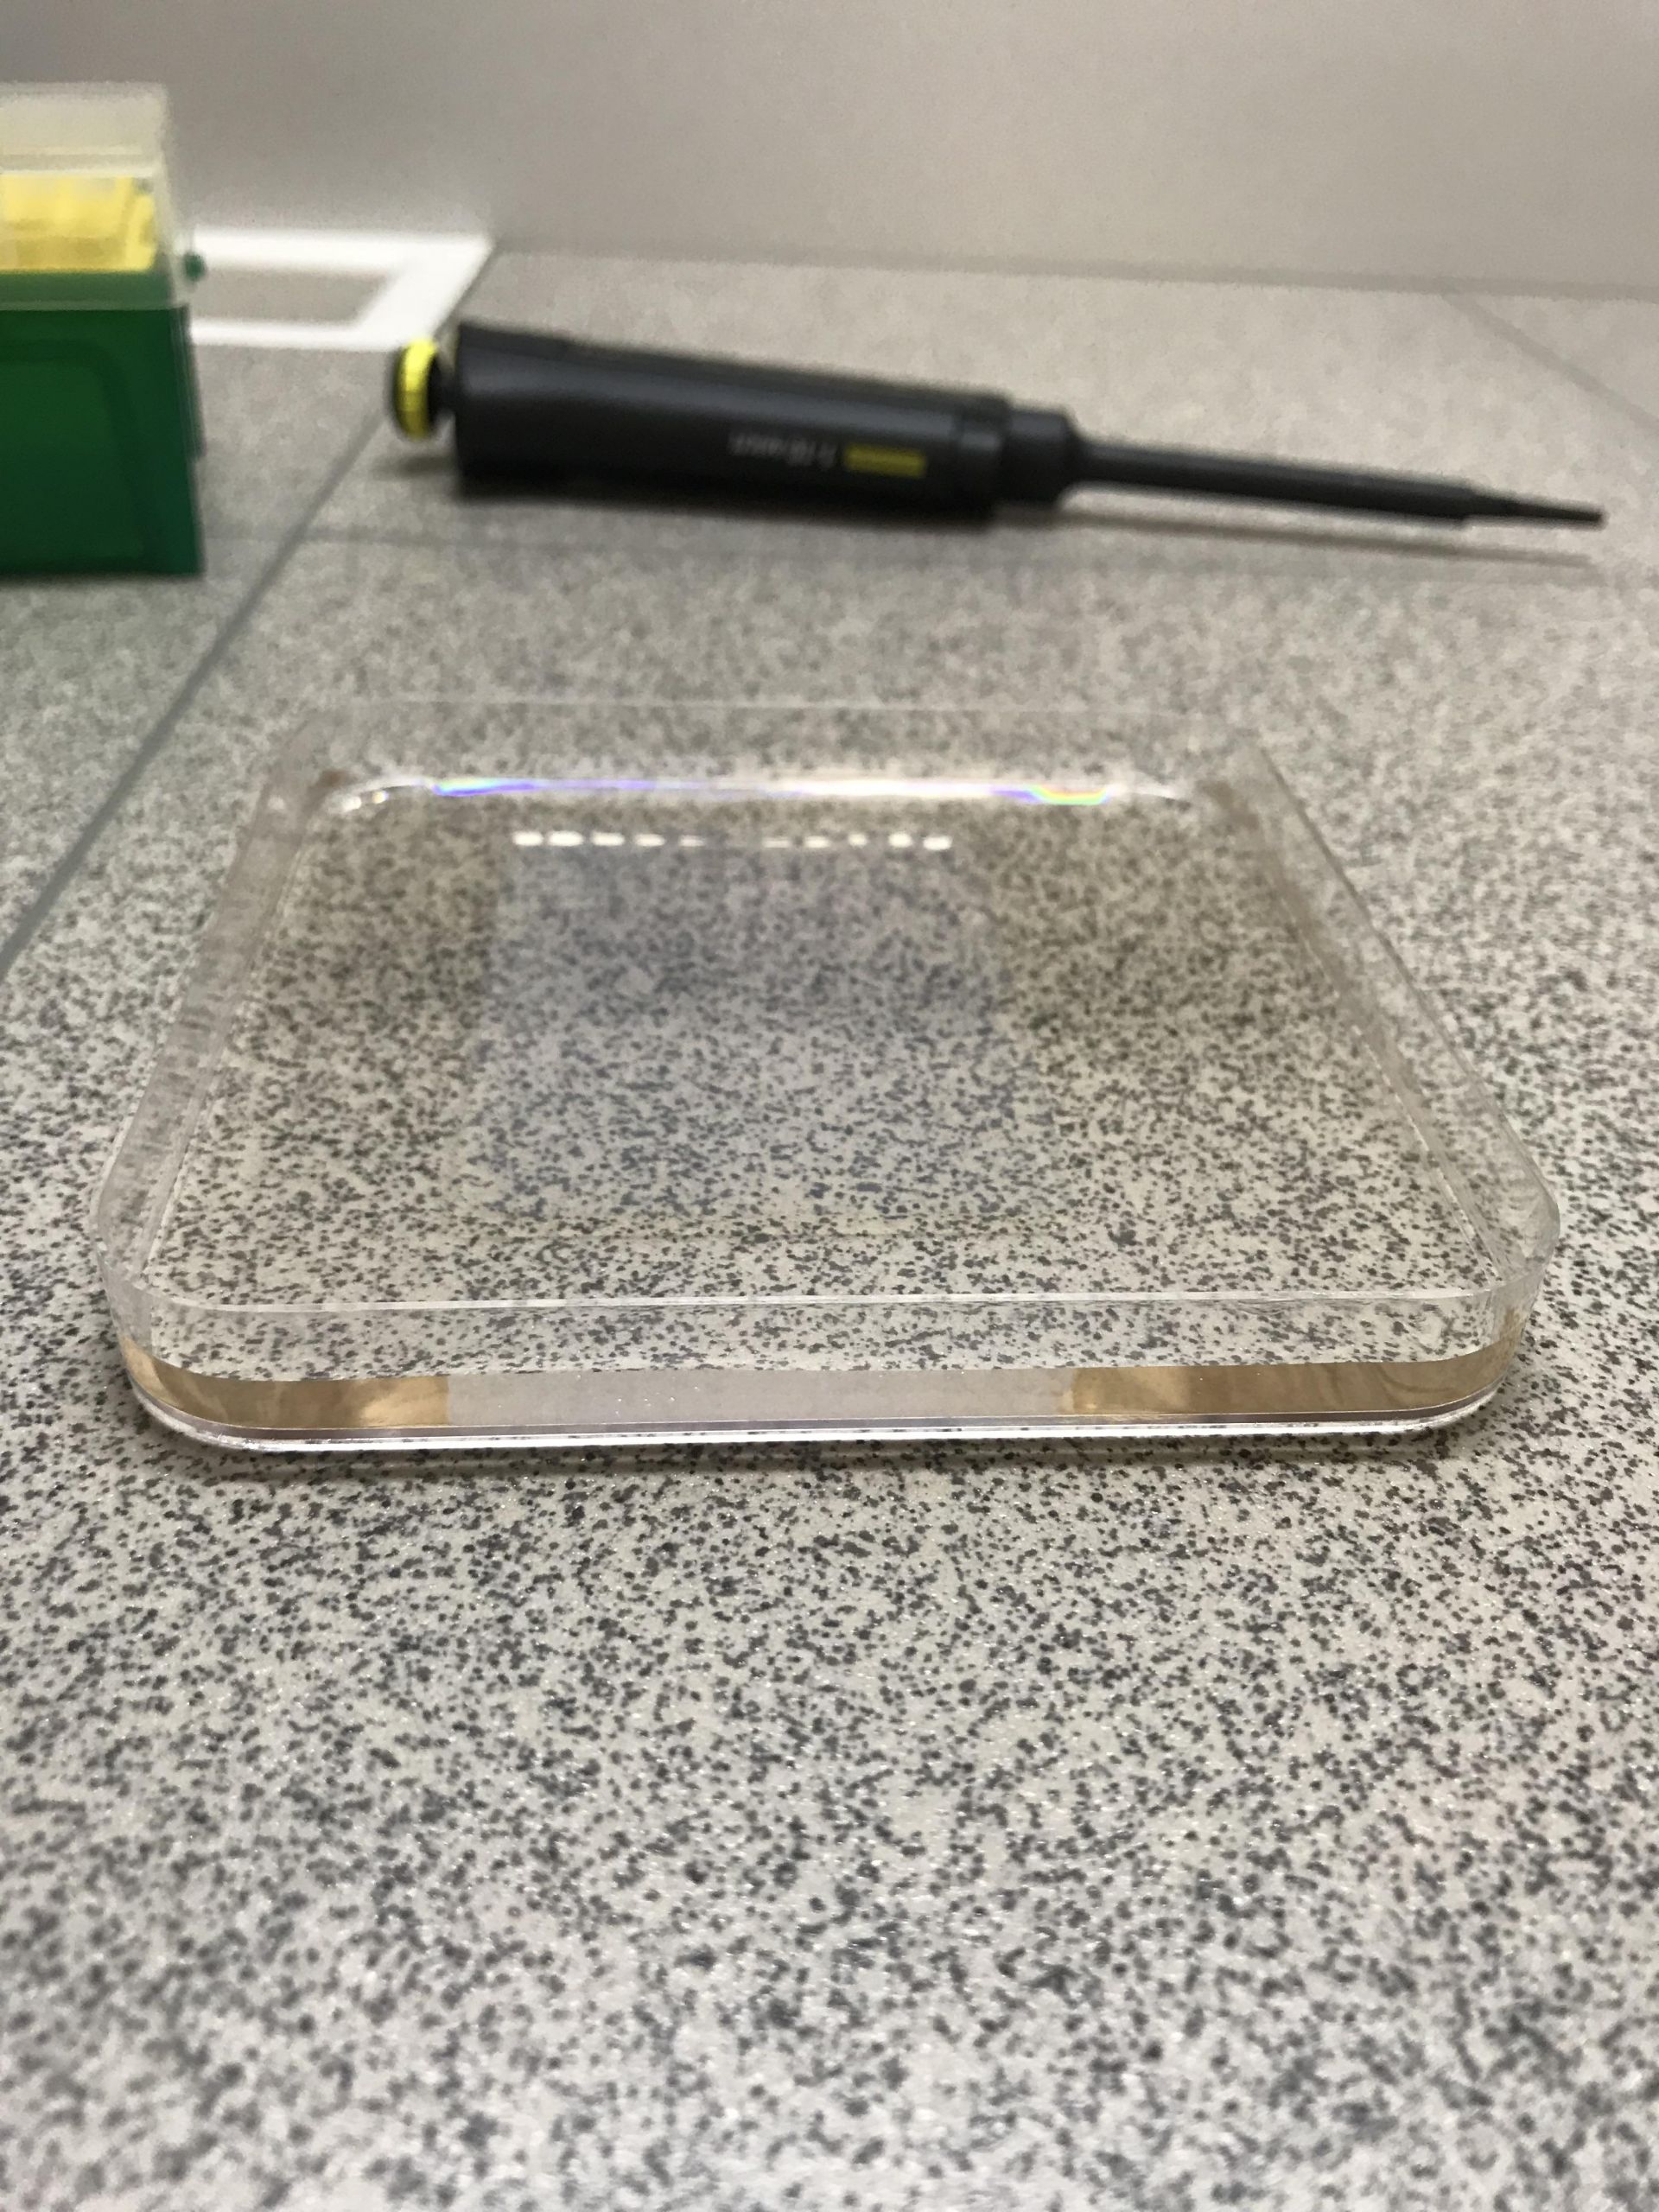
Step 5.
Remove the well comb from the gel.

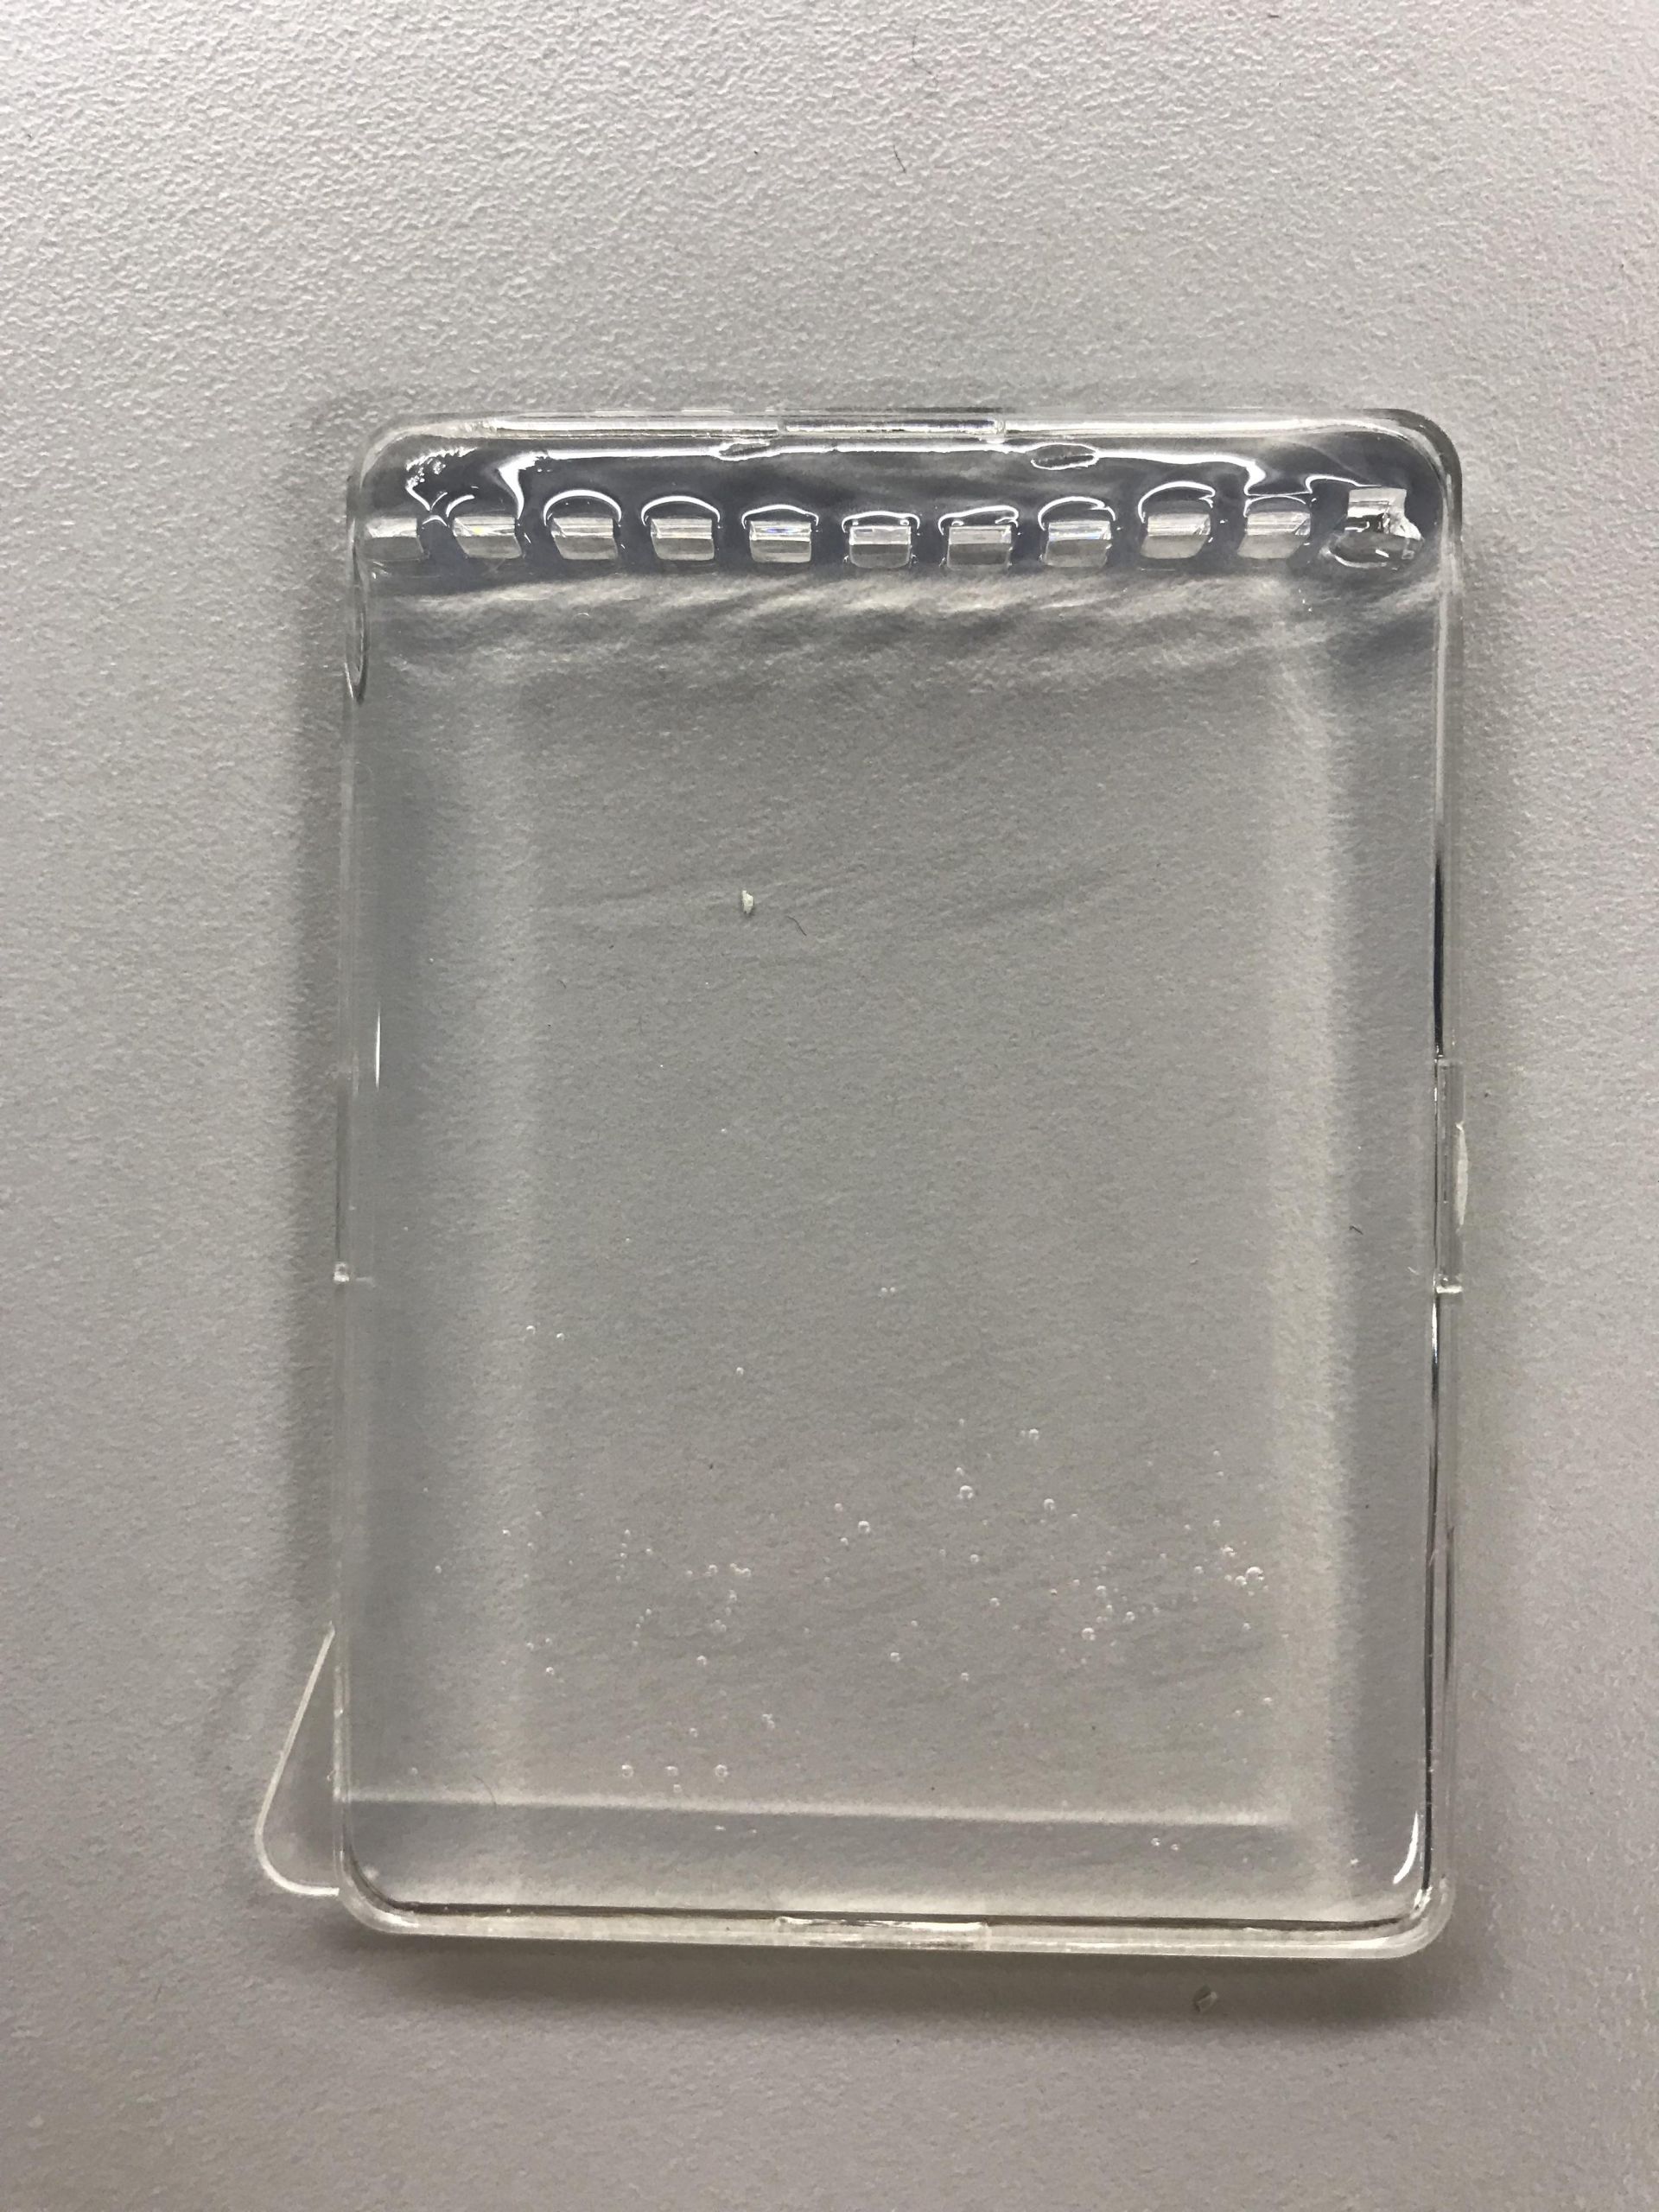
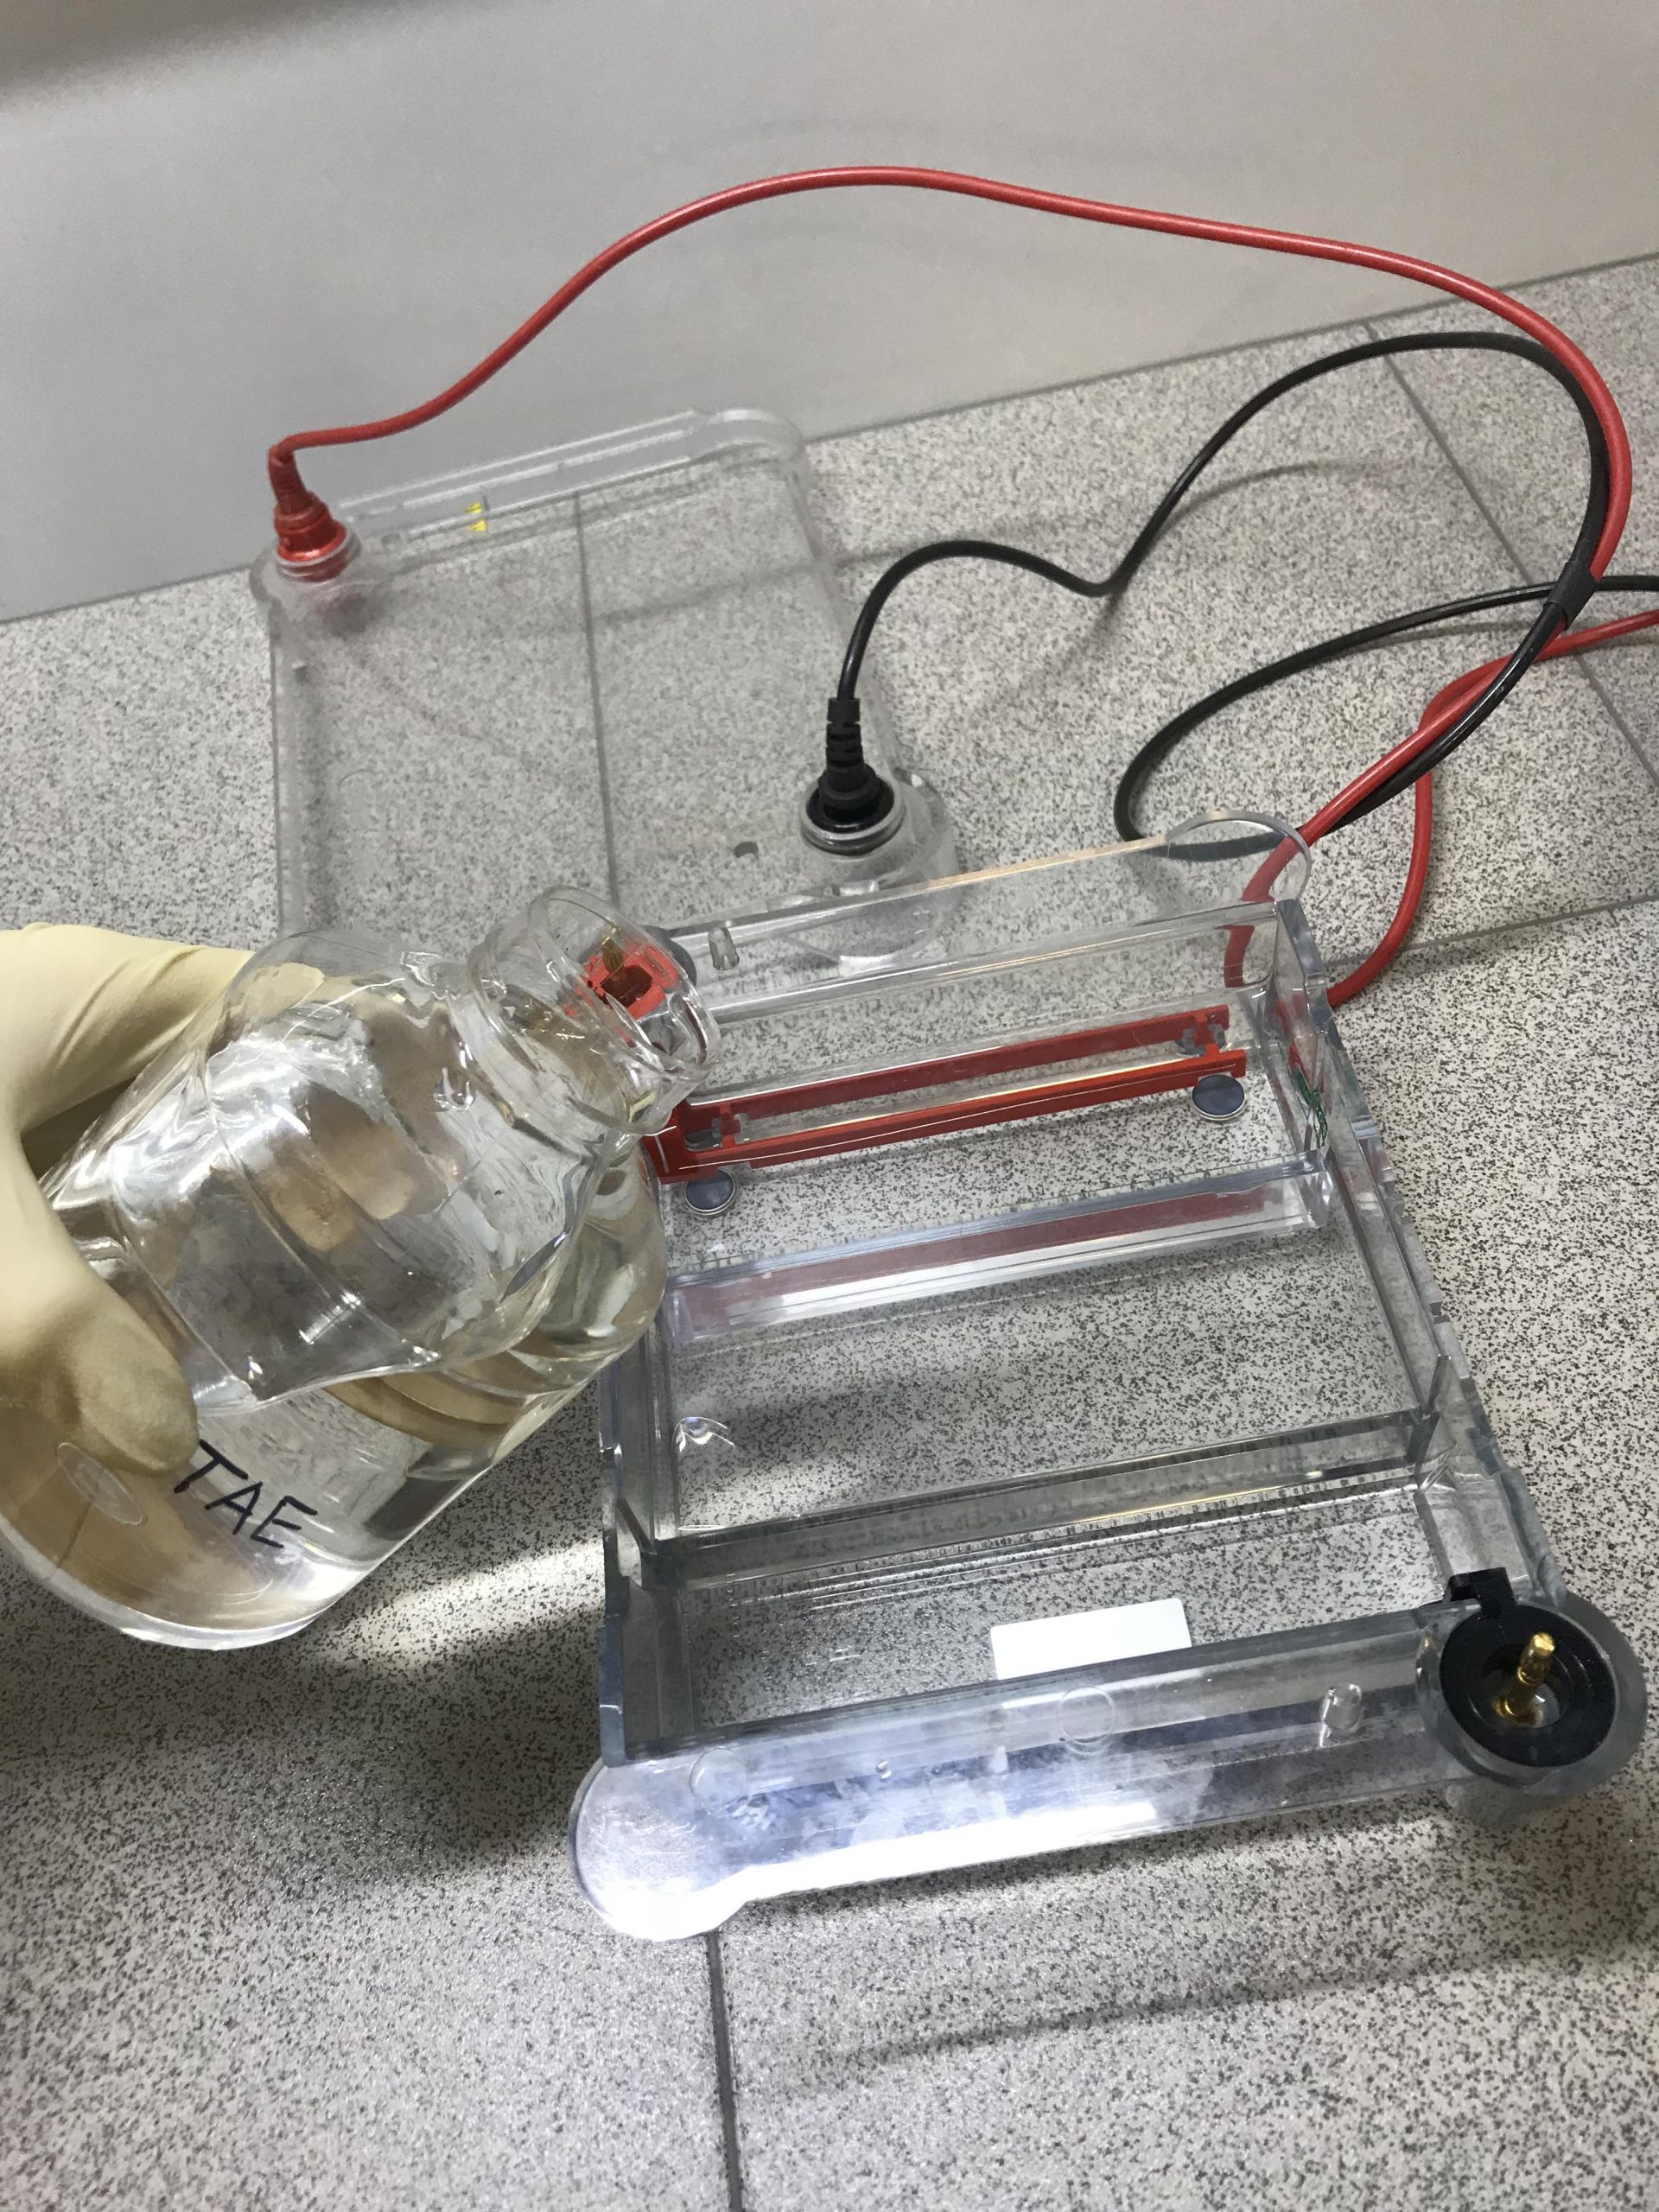
Step 6.
Place the agarose gel into the gel box. Fill the gel box with 1xTAE until the gel is covered.
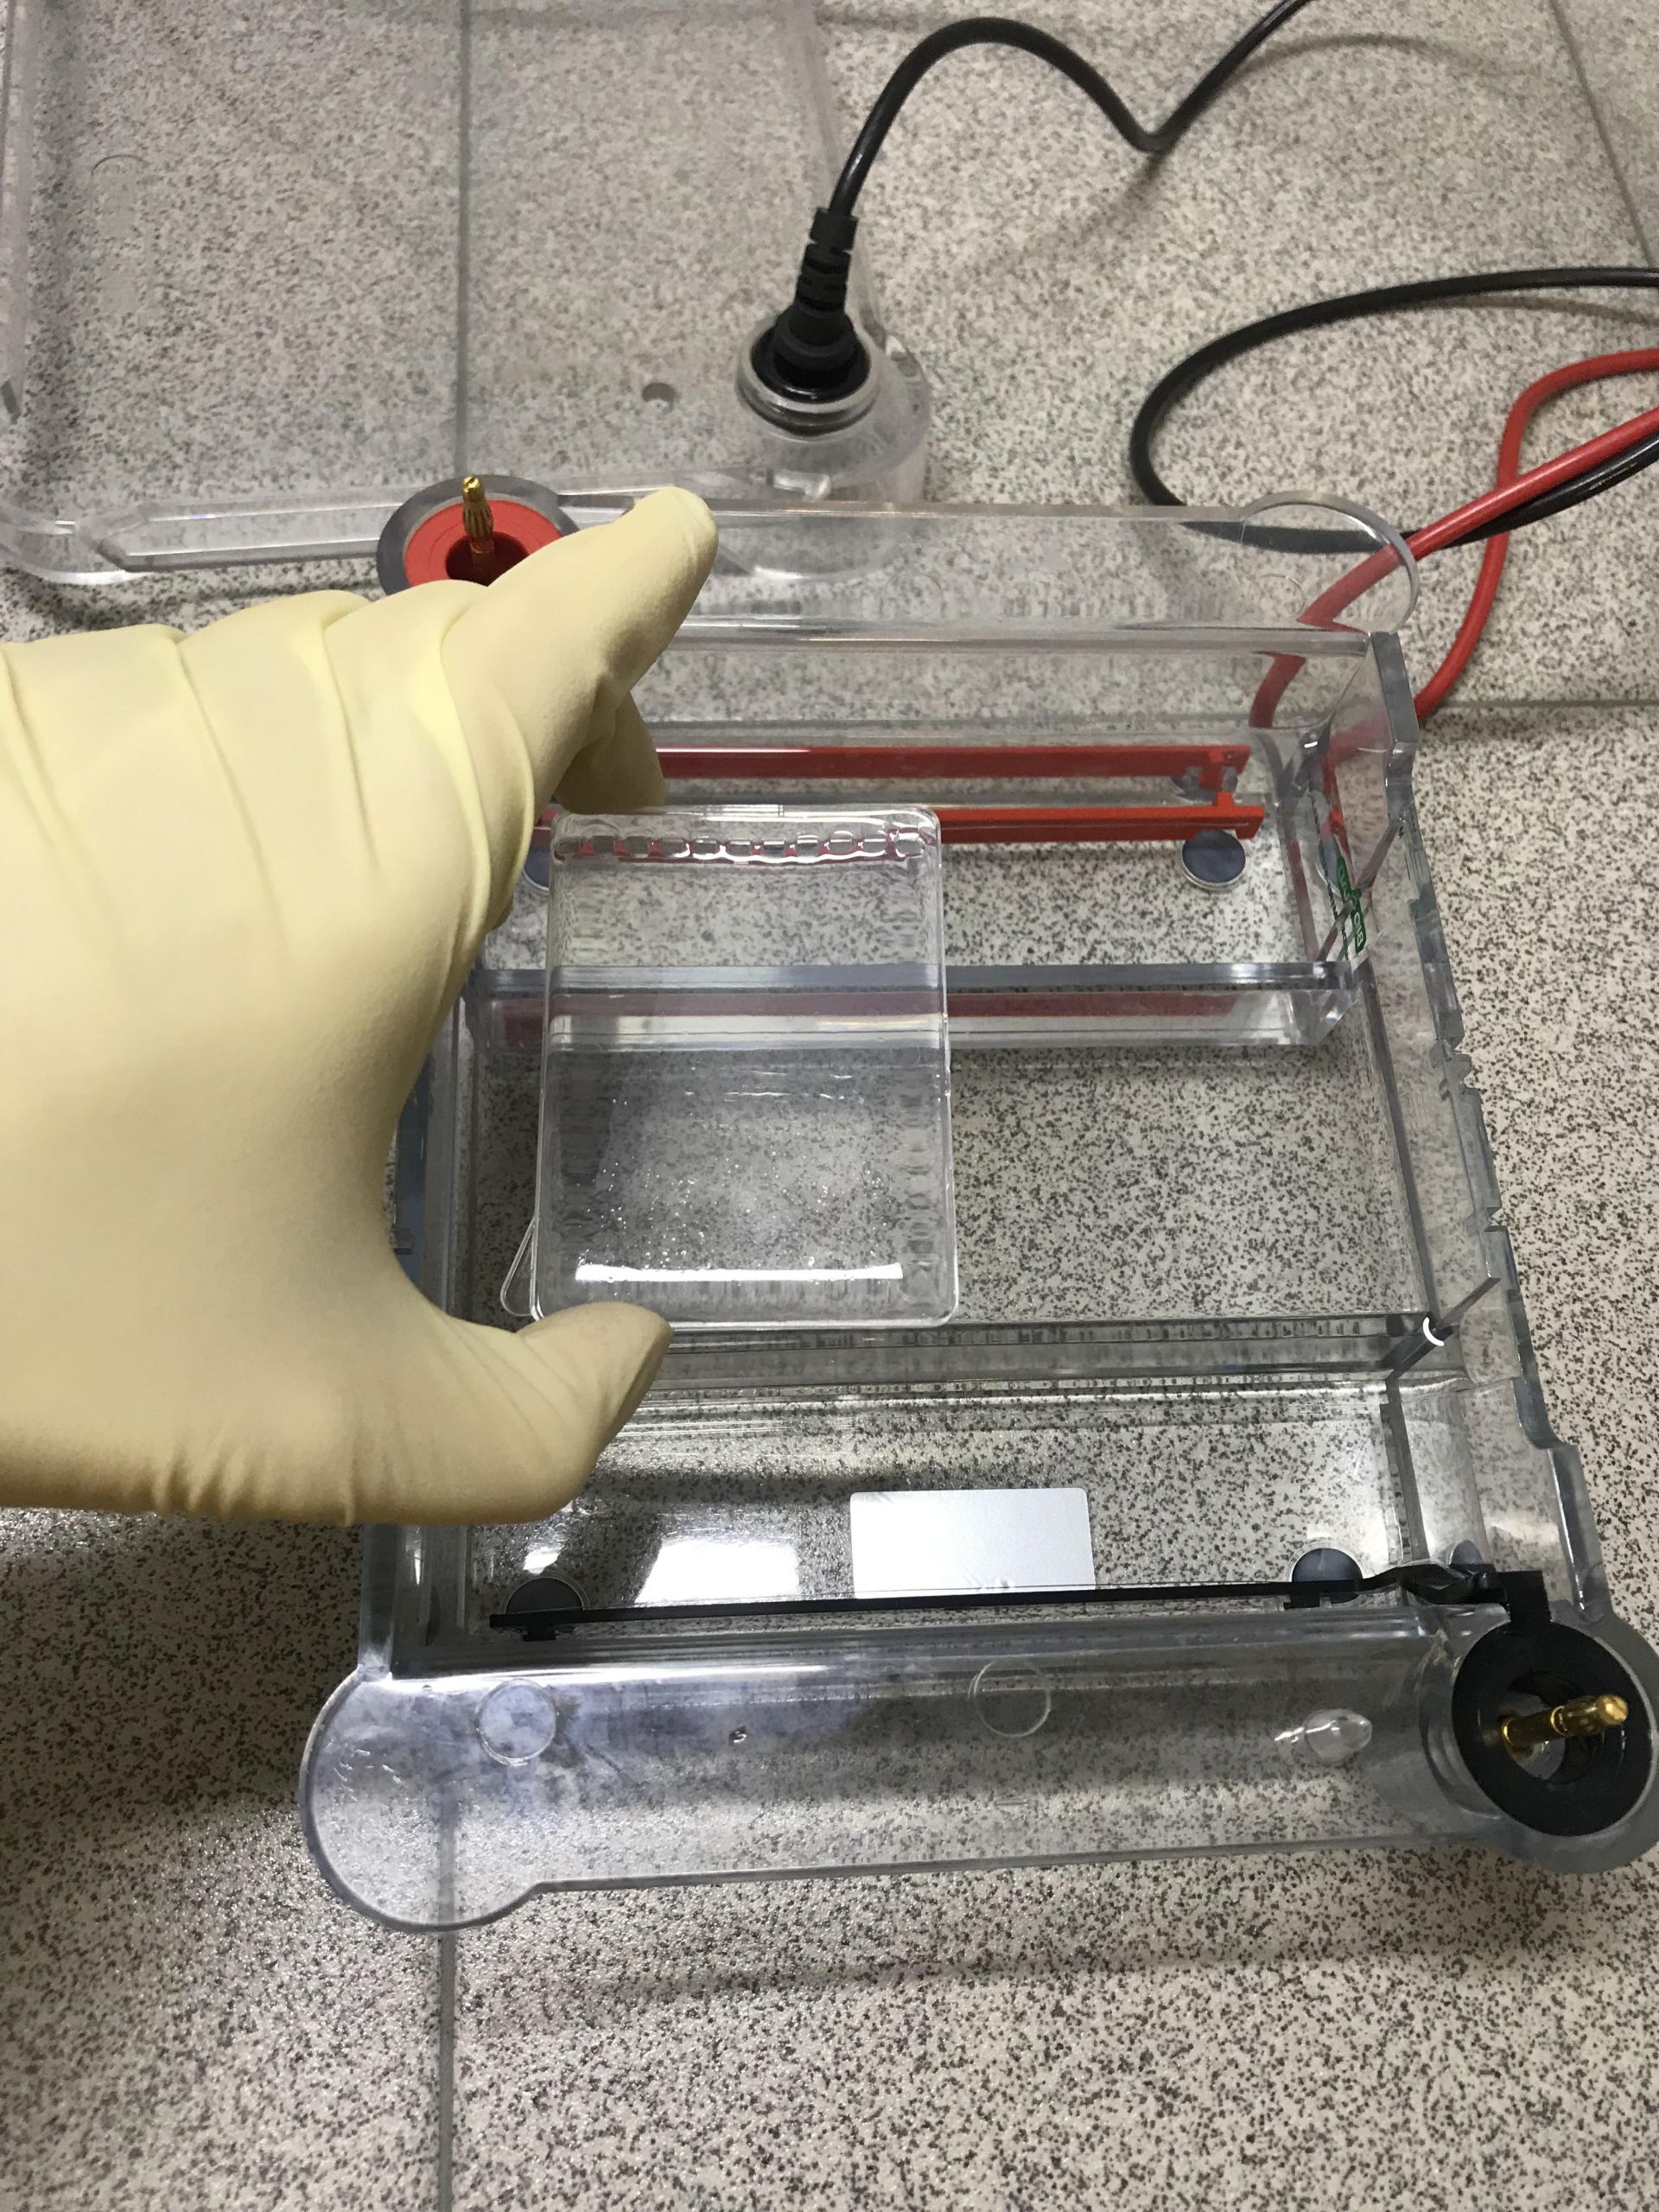
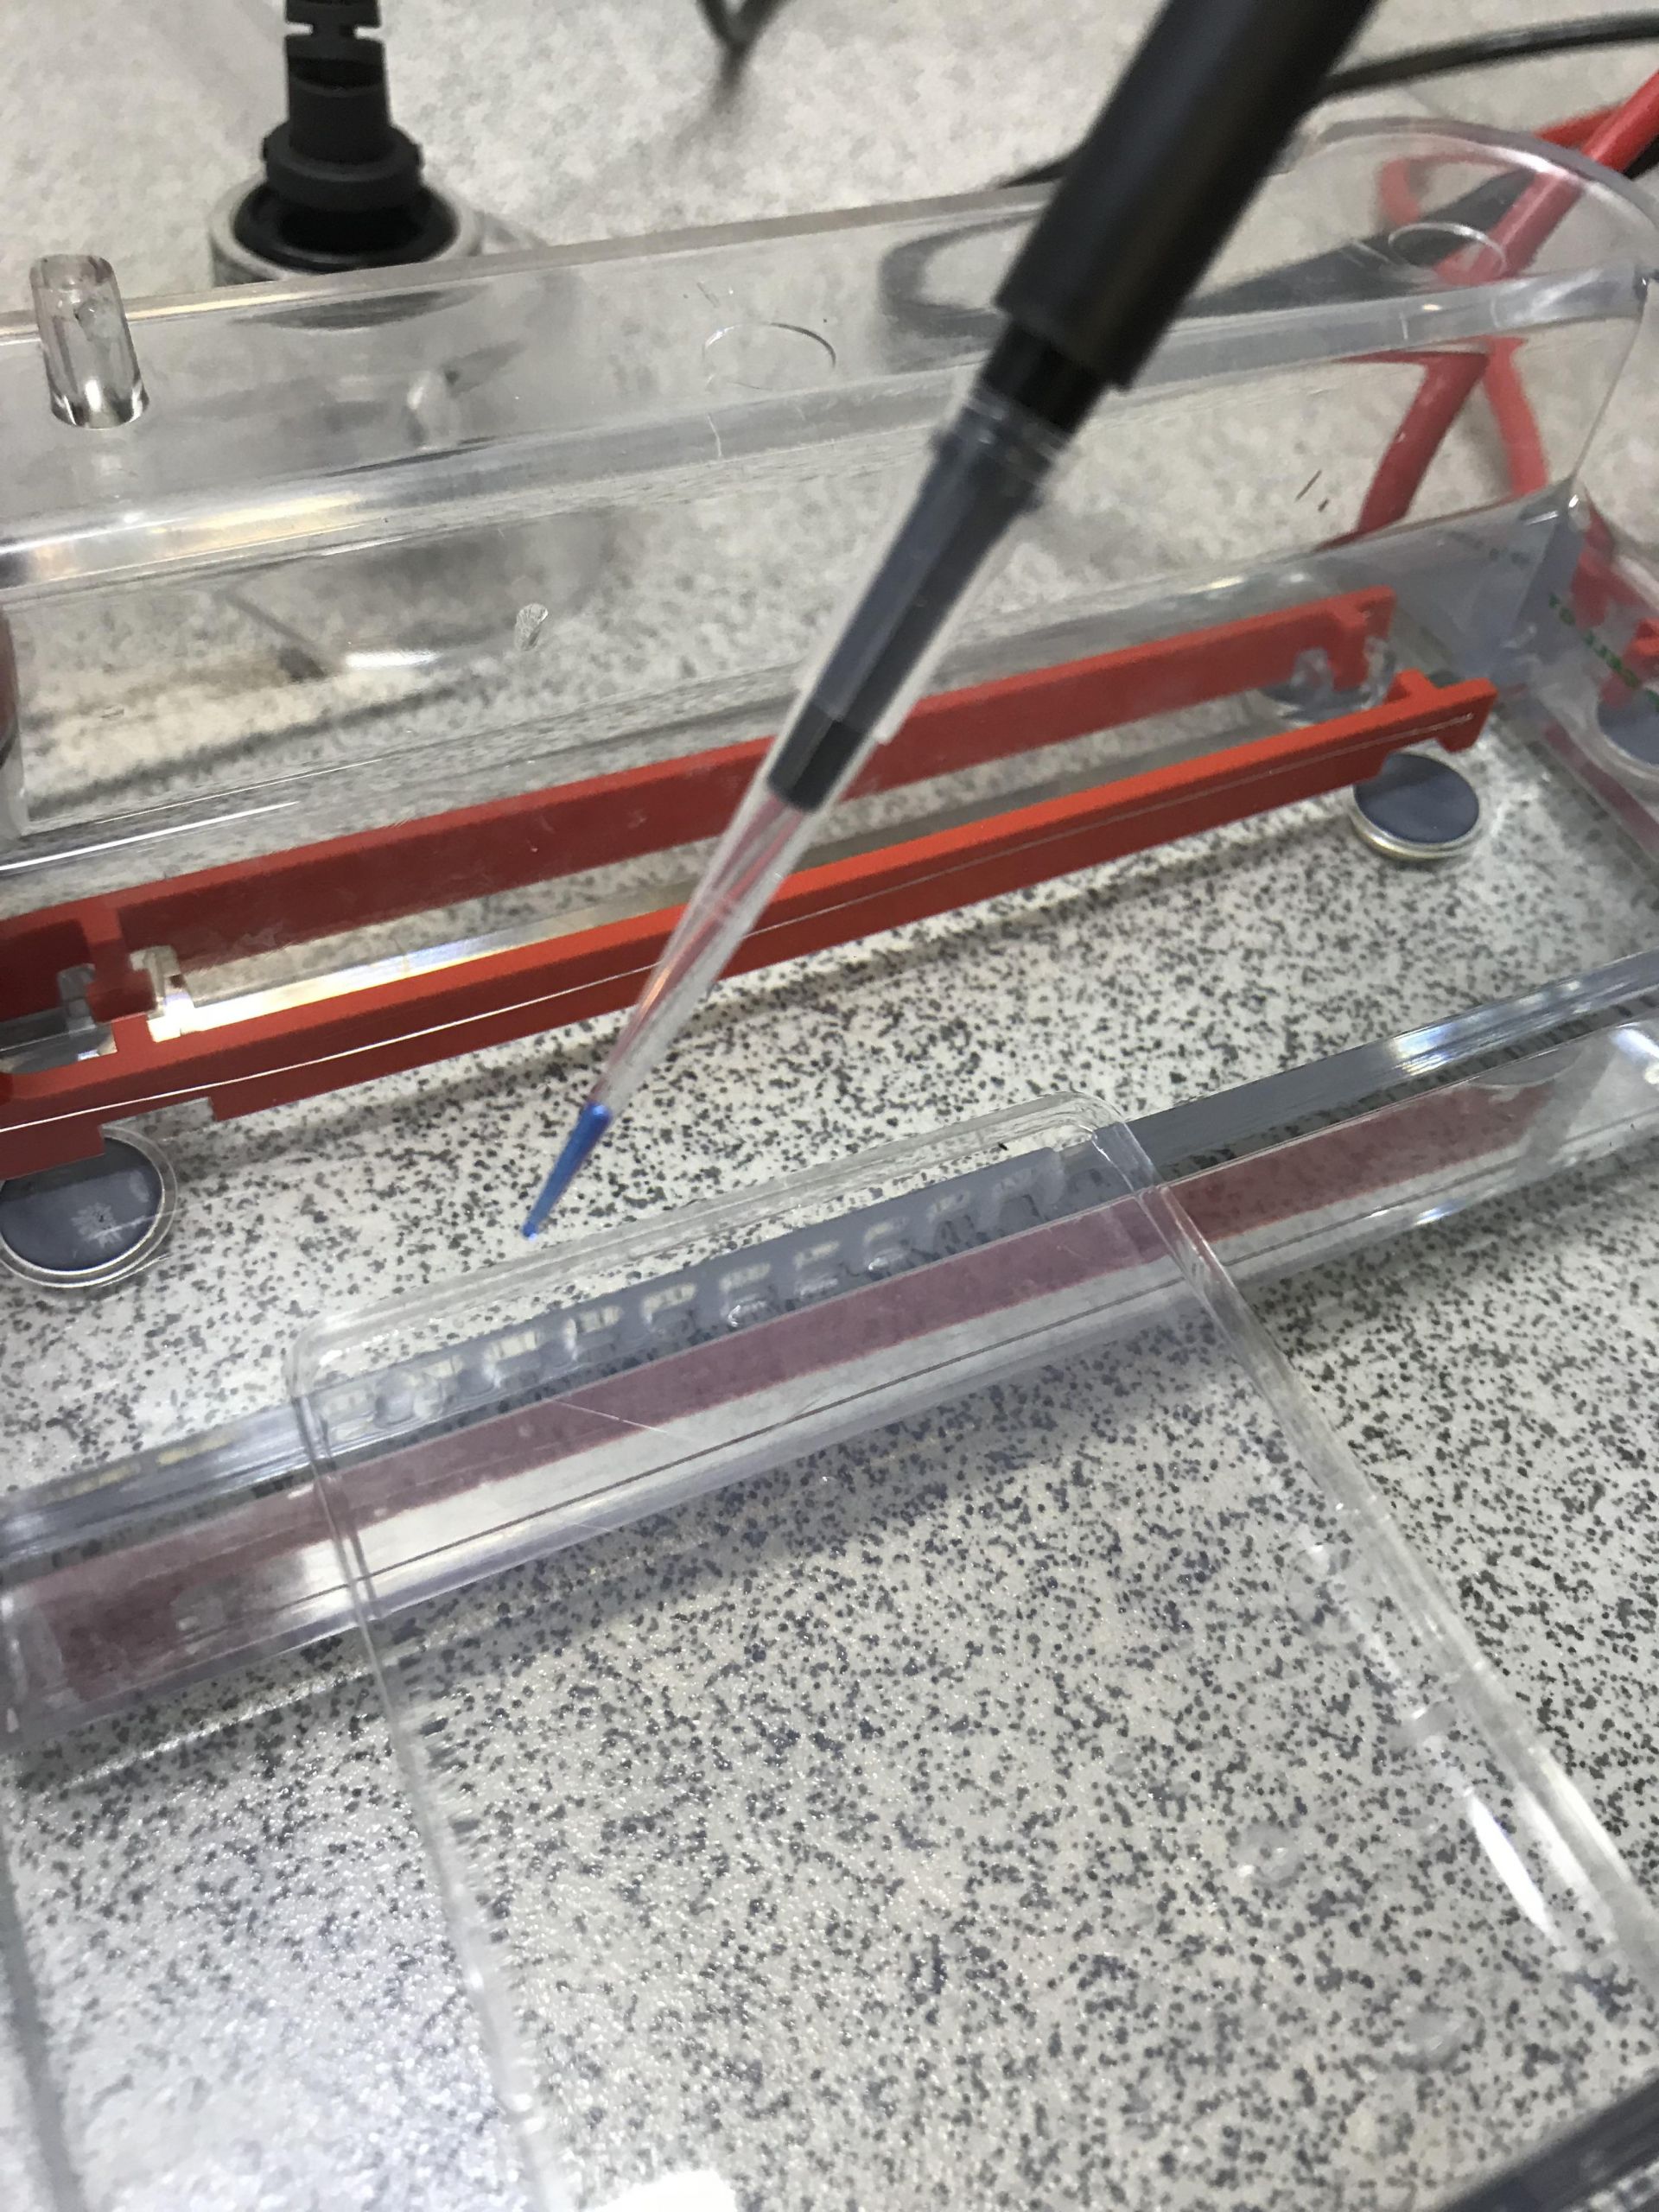
Step 7.
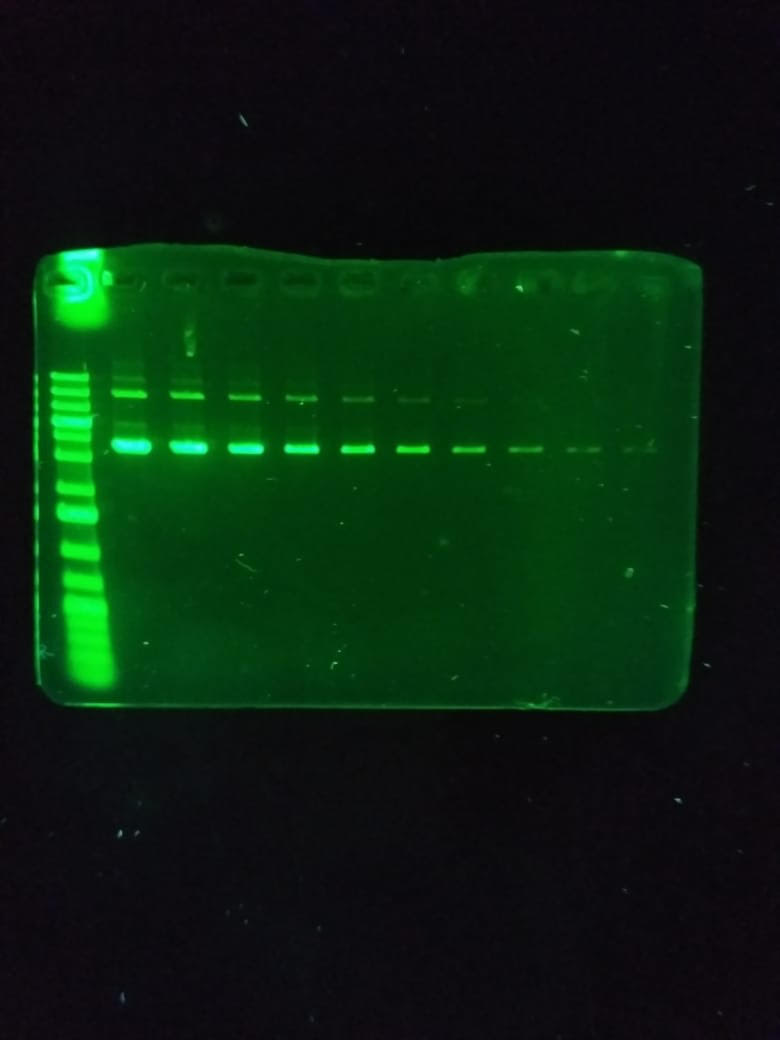
Carefully load a molecular weight ladder into the first lane of the gel. Carefully load your samples into the additional wells of the gel.


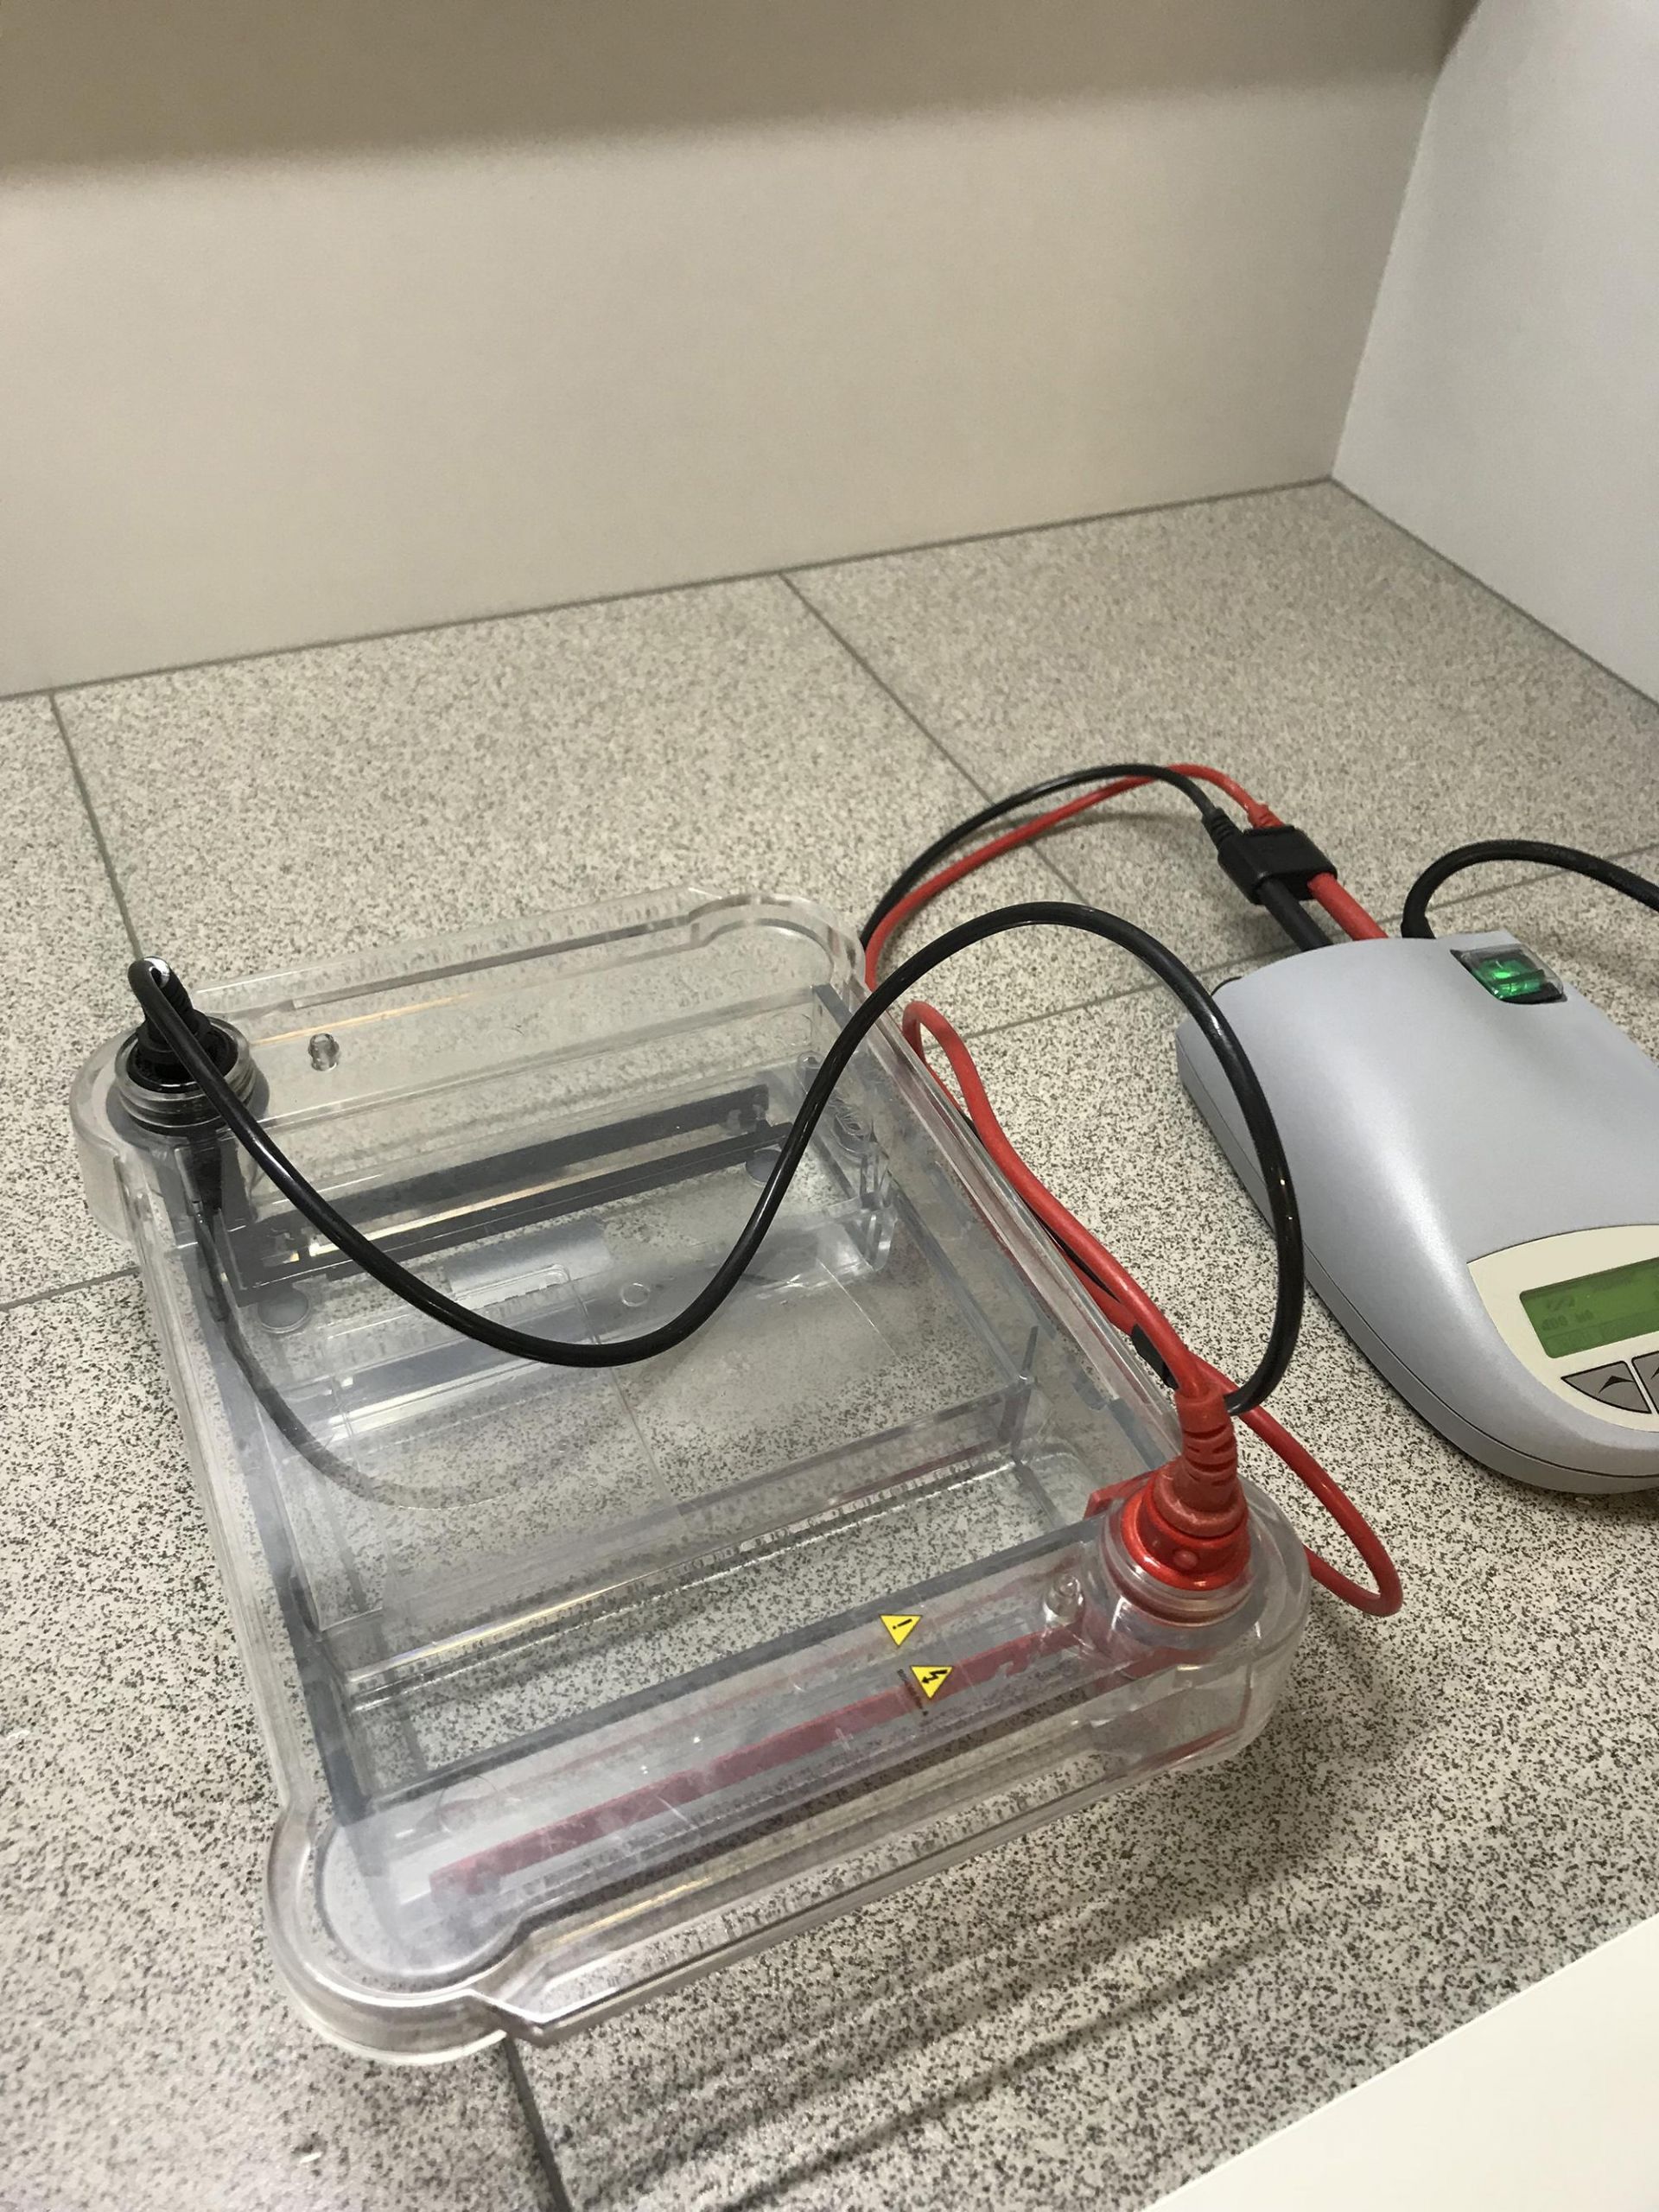
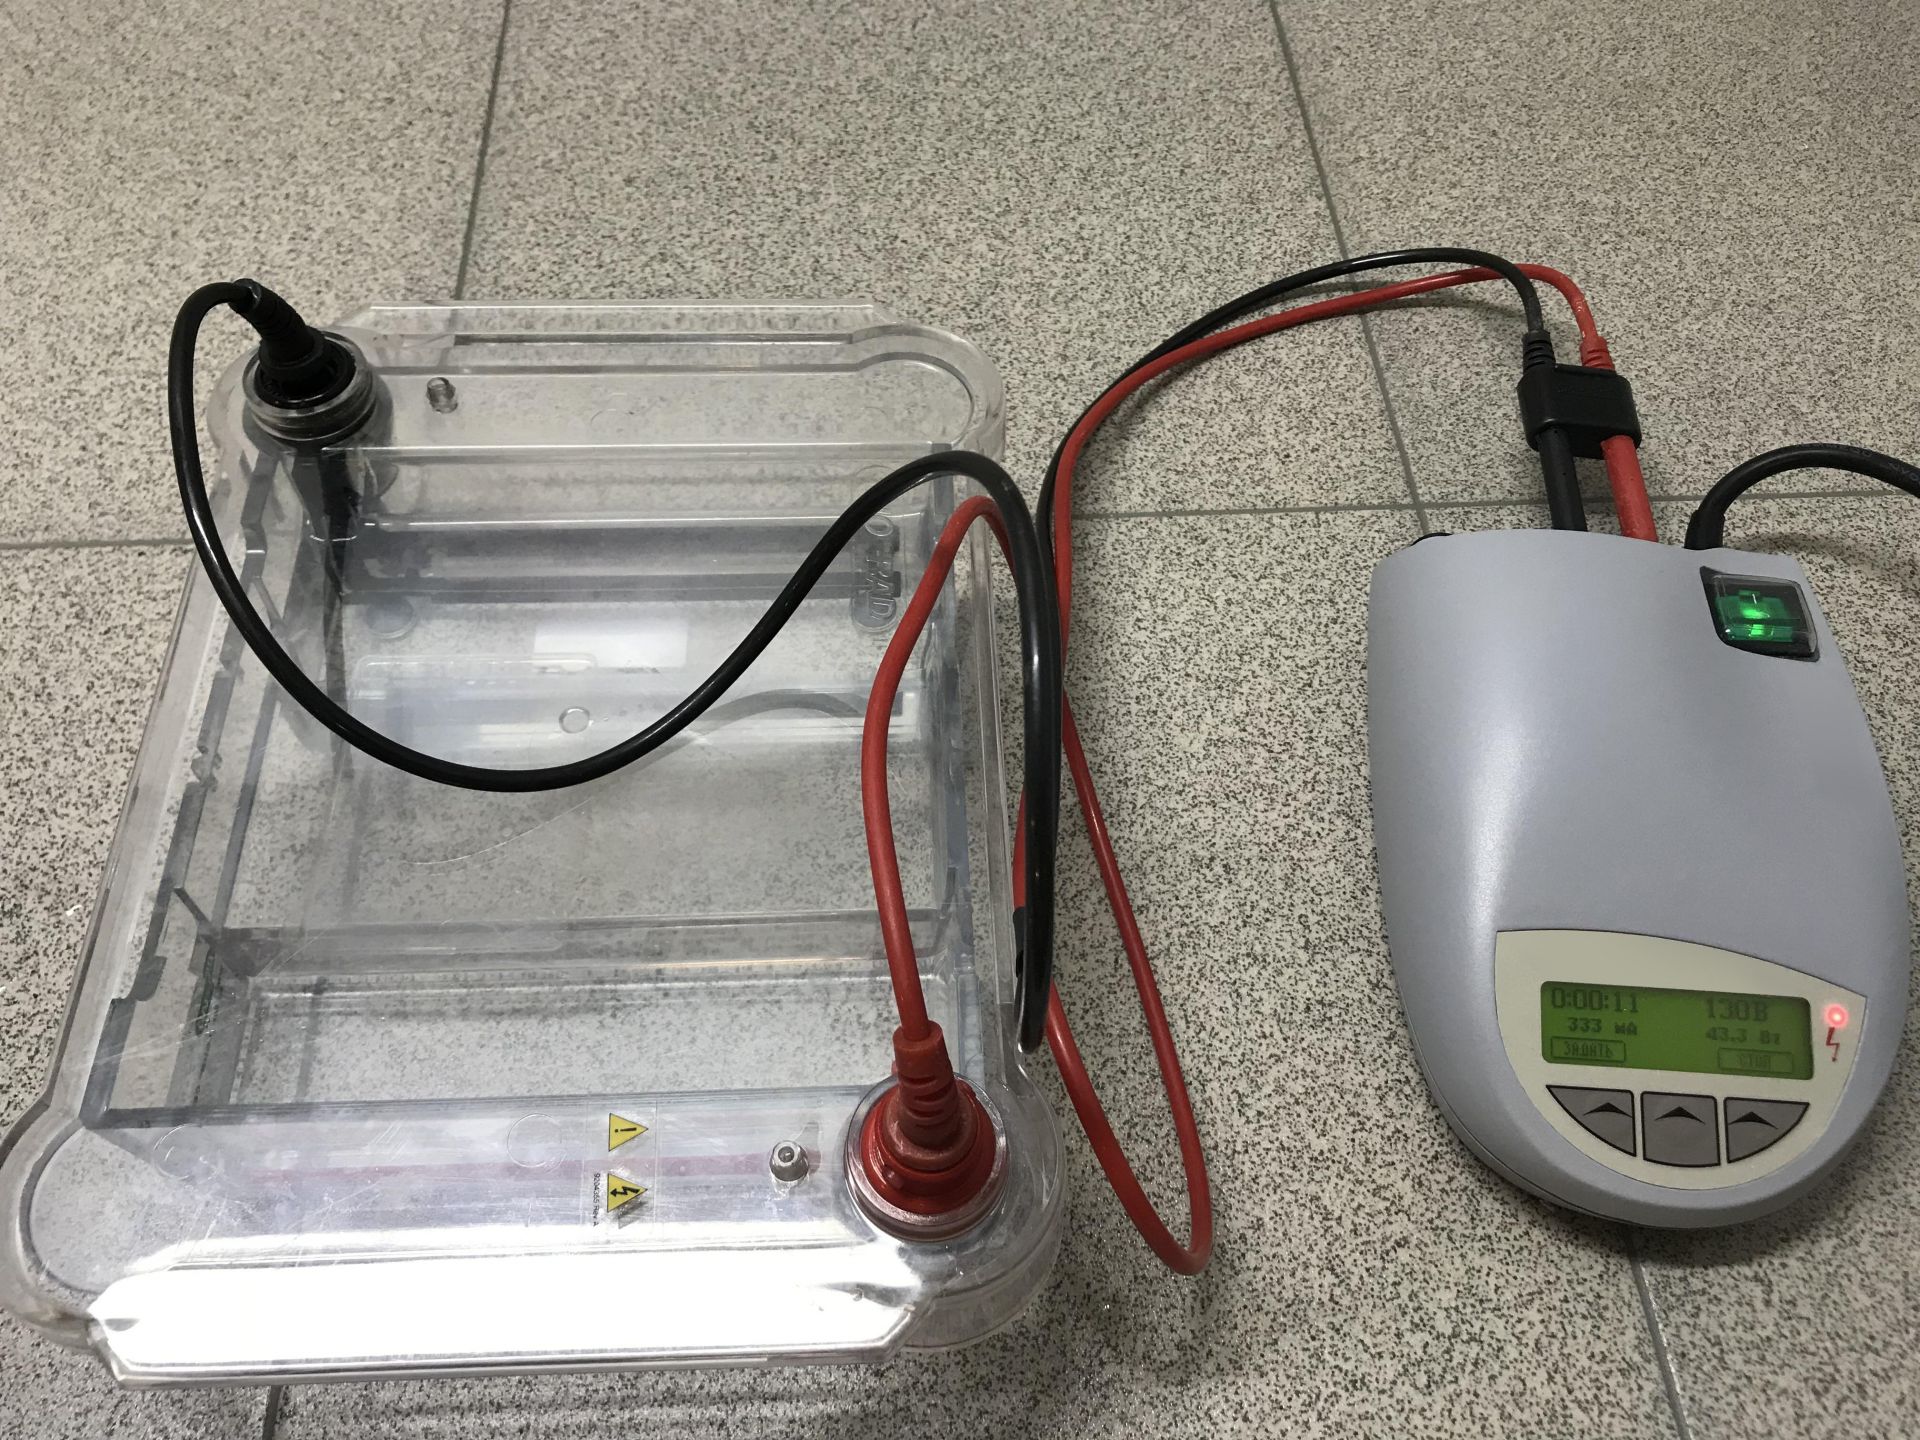
Step 8.
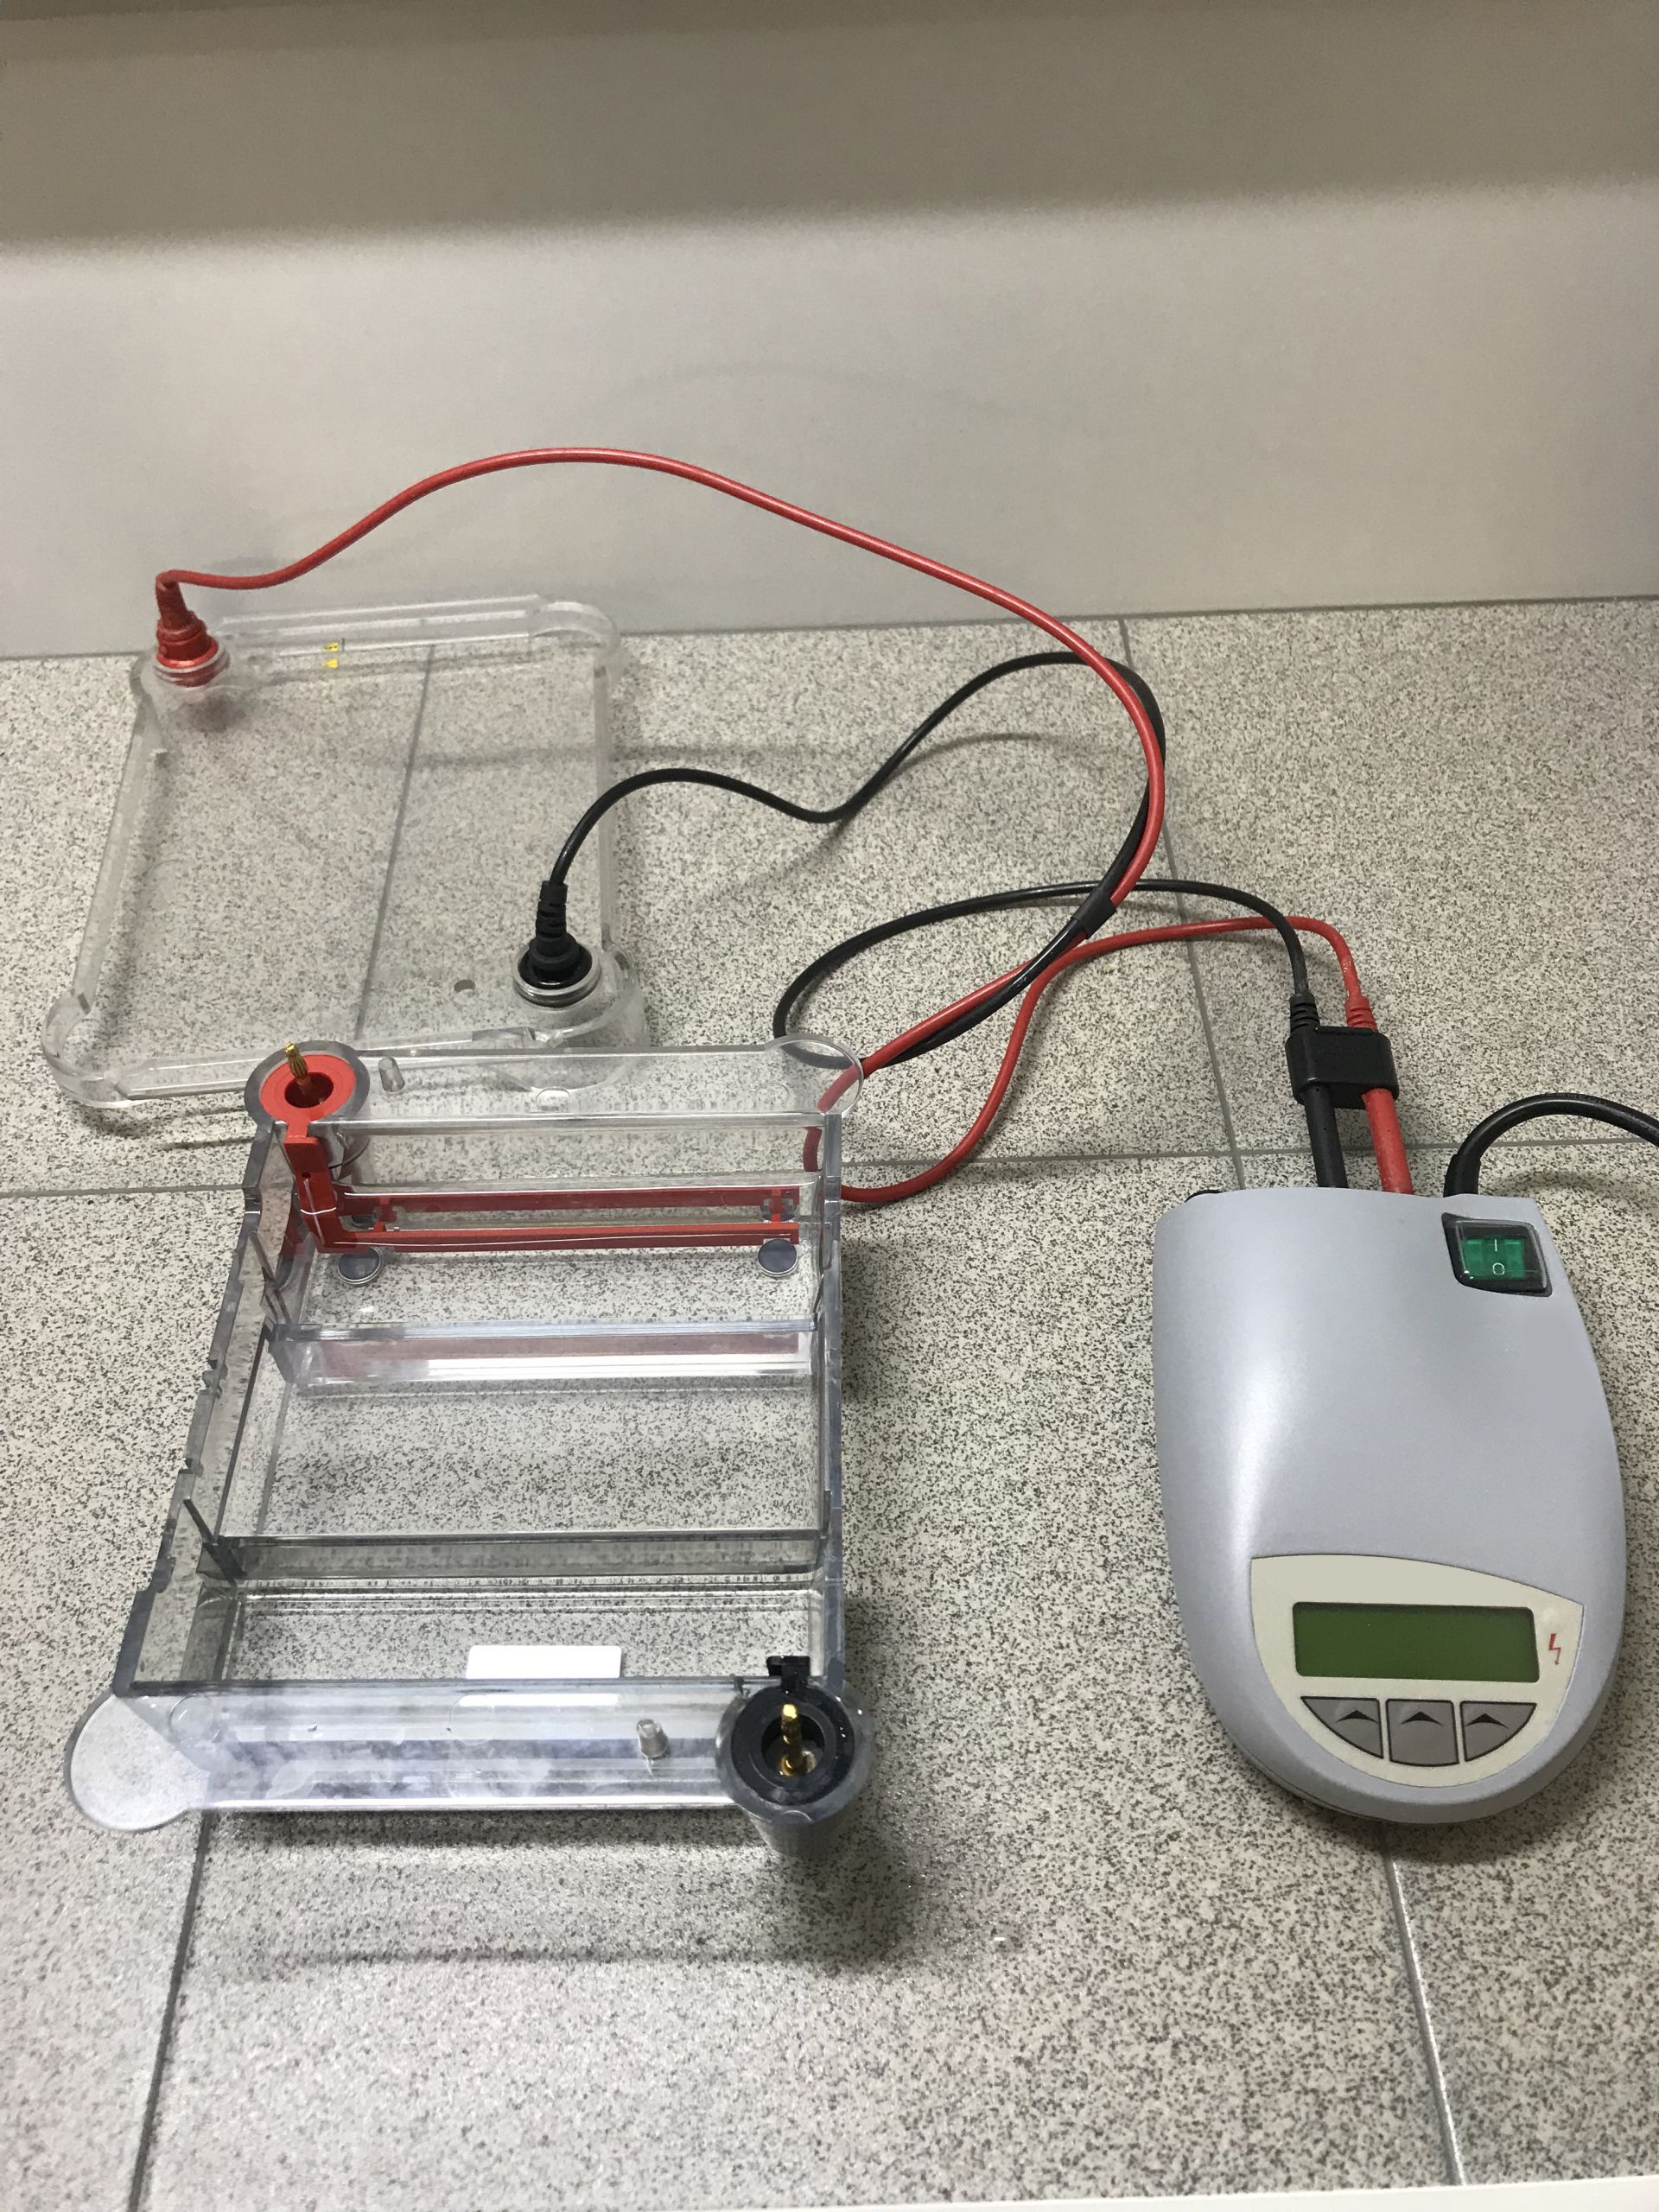
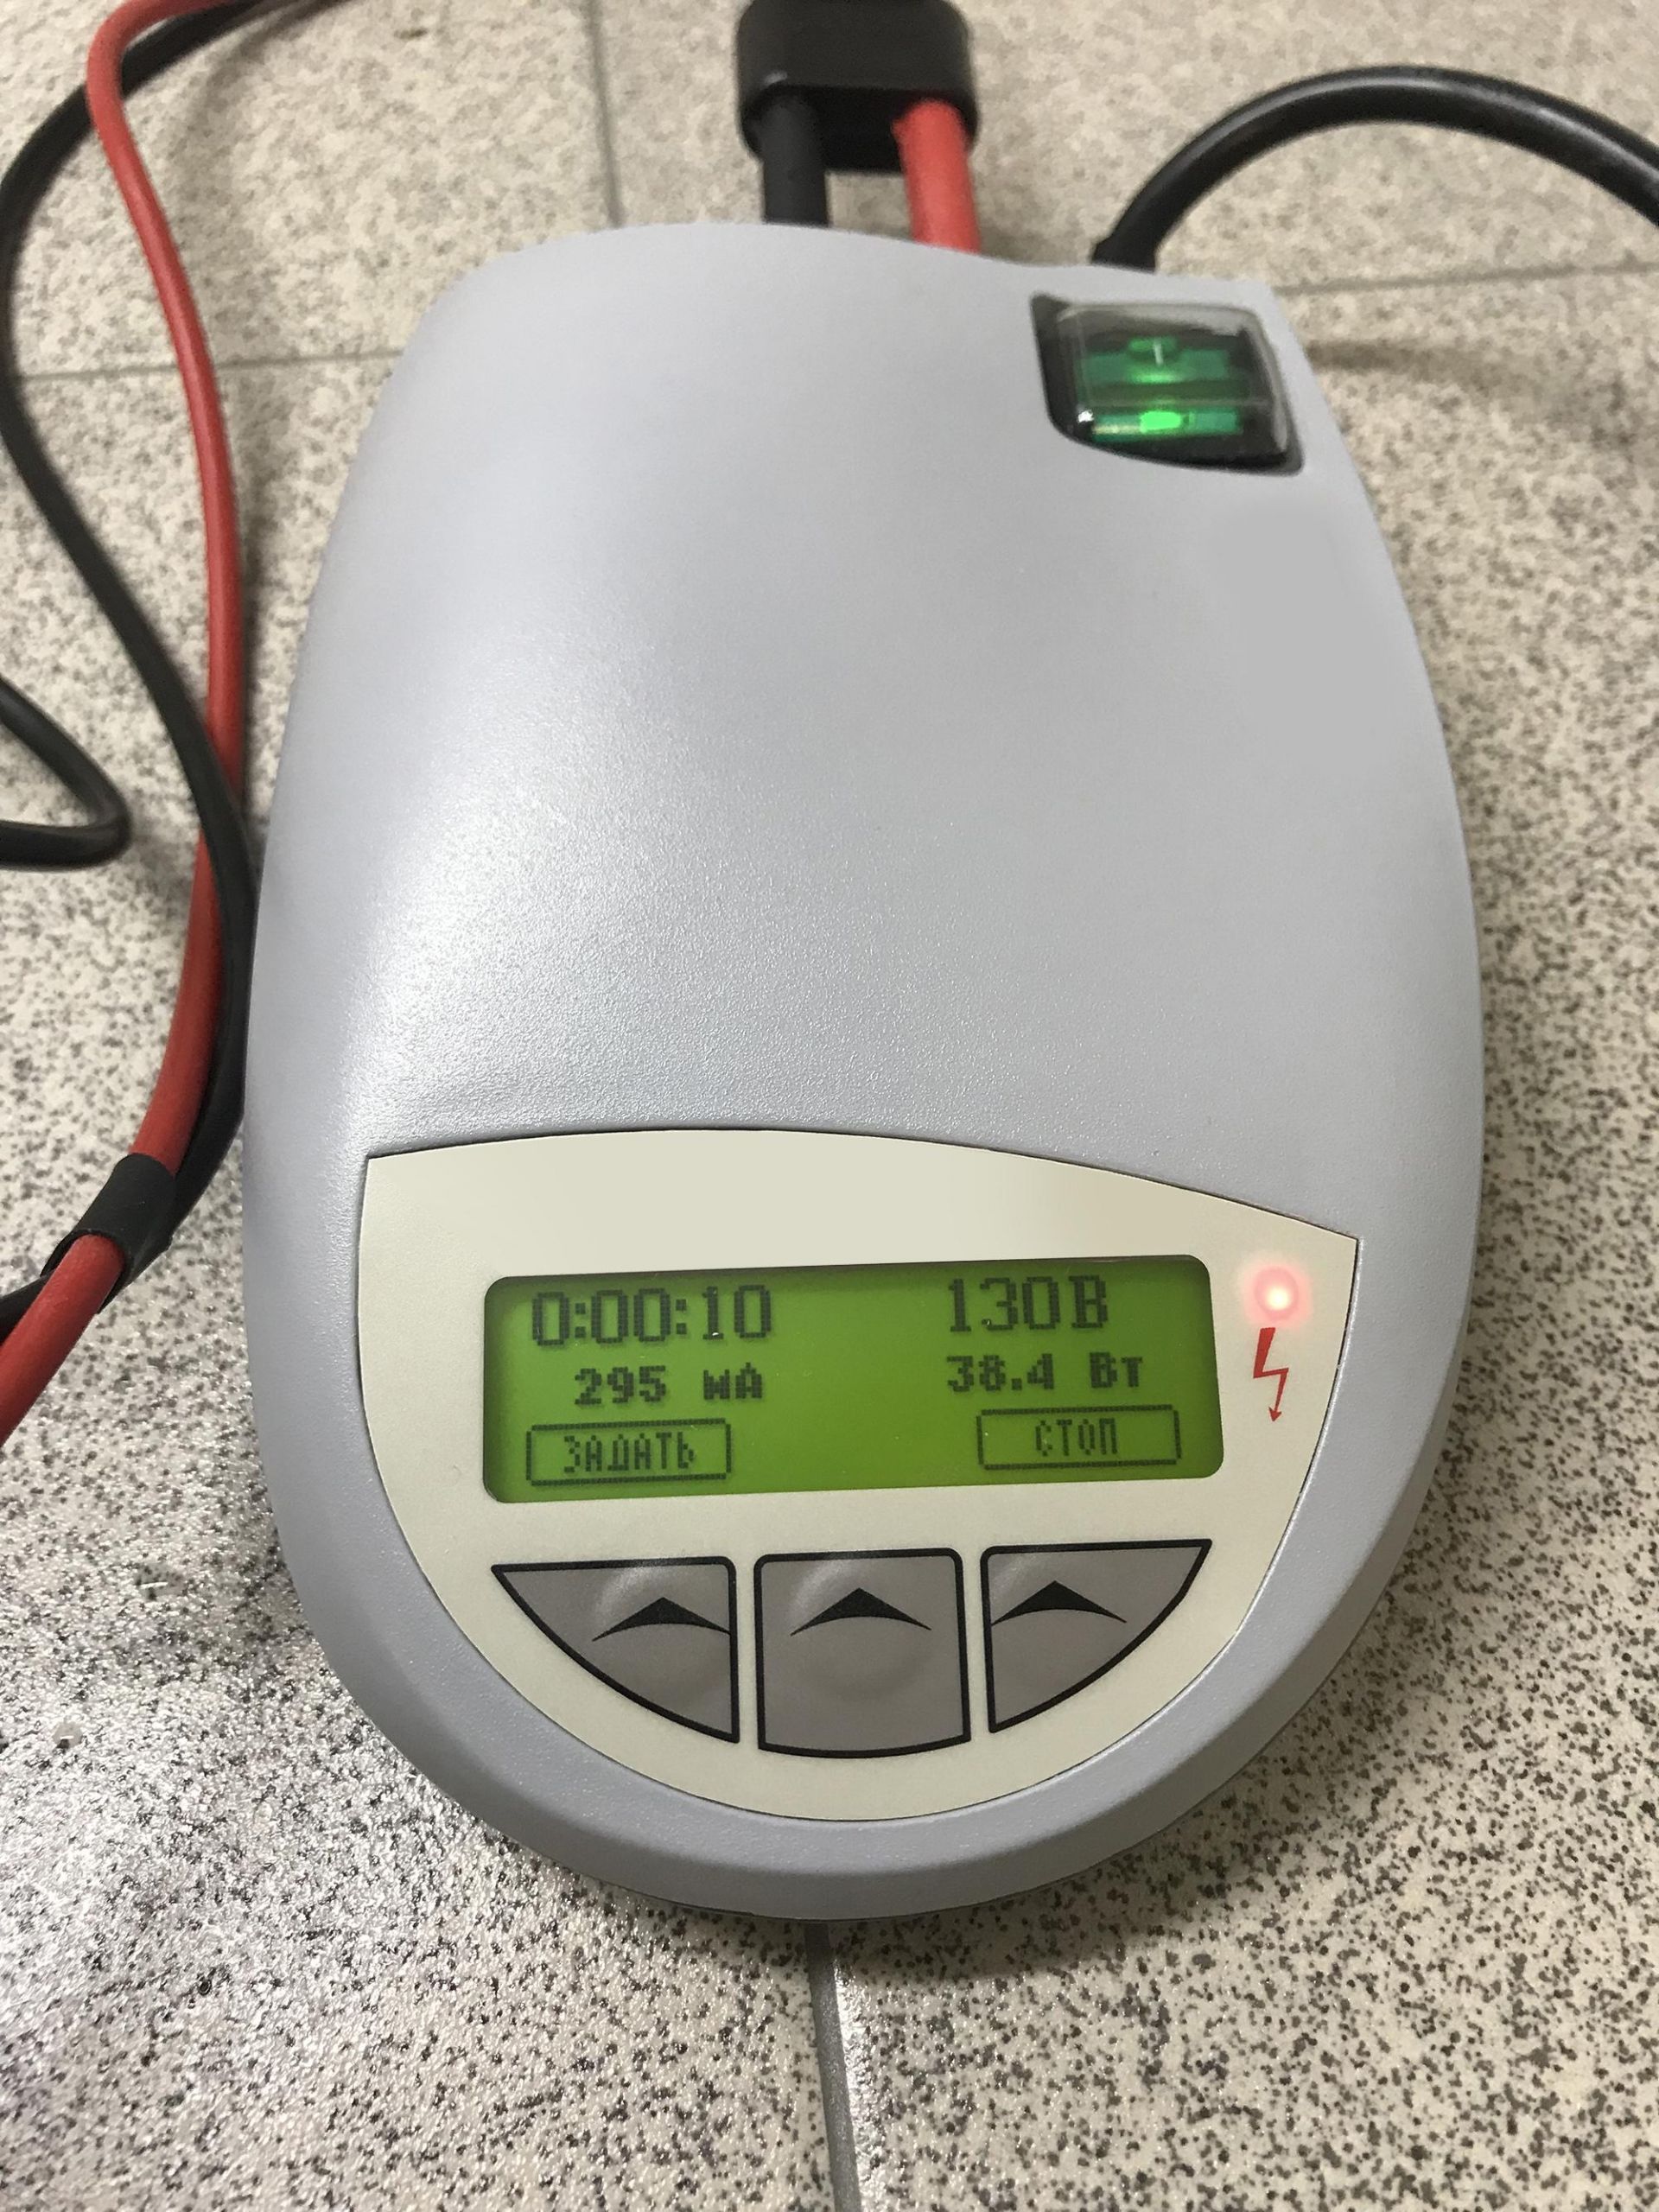
Run the gel at 80-150 V until the dye line is approximately 75-80% of the way down the gel.
Remember about gel orientation (The black electrode is negative, red is positive. The DNA is negatively charged and will run towards the positive electrode.)
Step 9.
Add 2 μL of Lumiprobe® dsGreen dye to 20 mL of 1xTAE buffer.


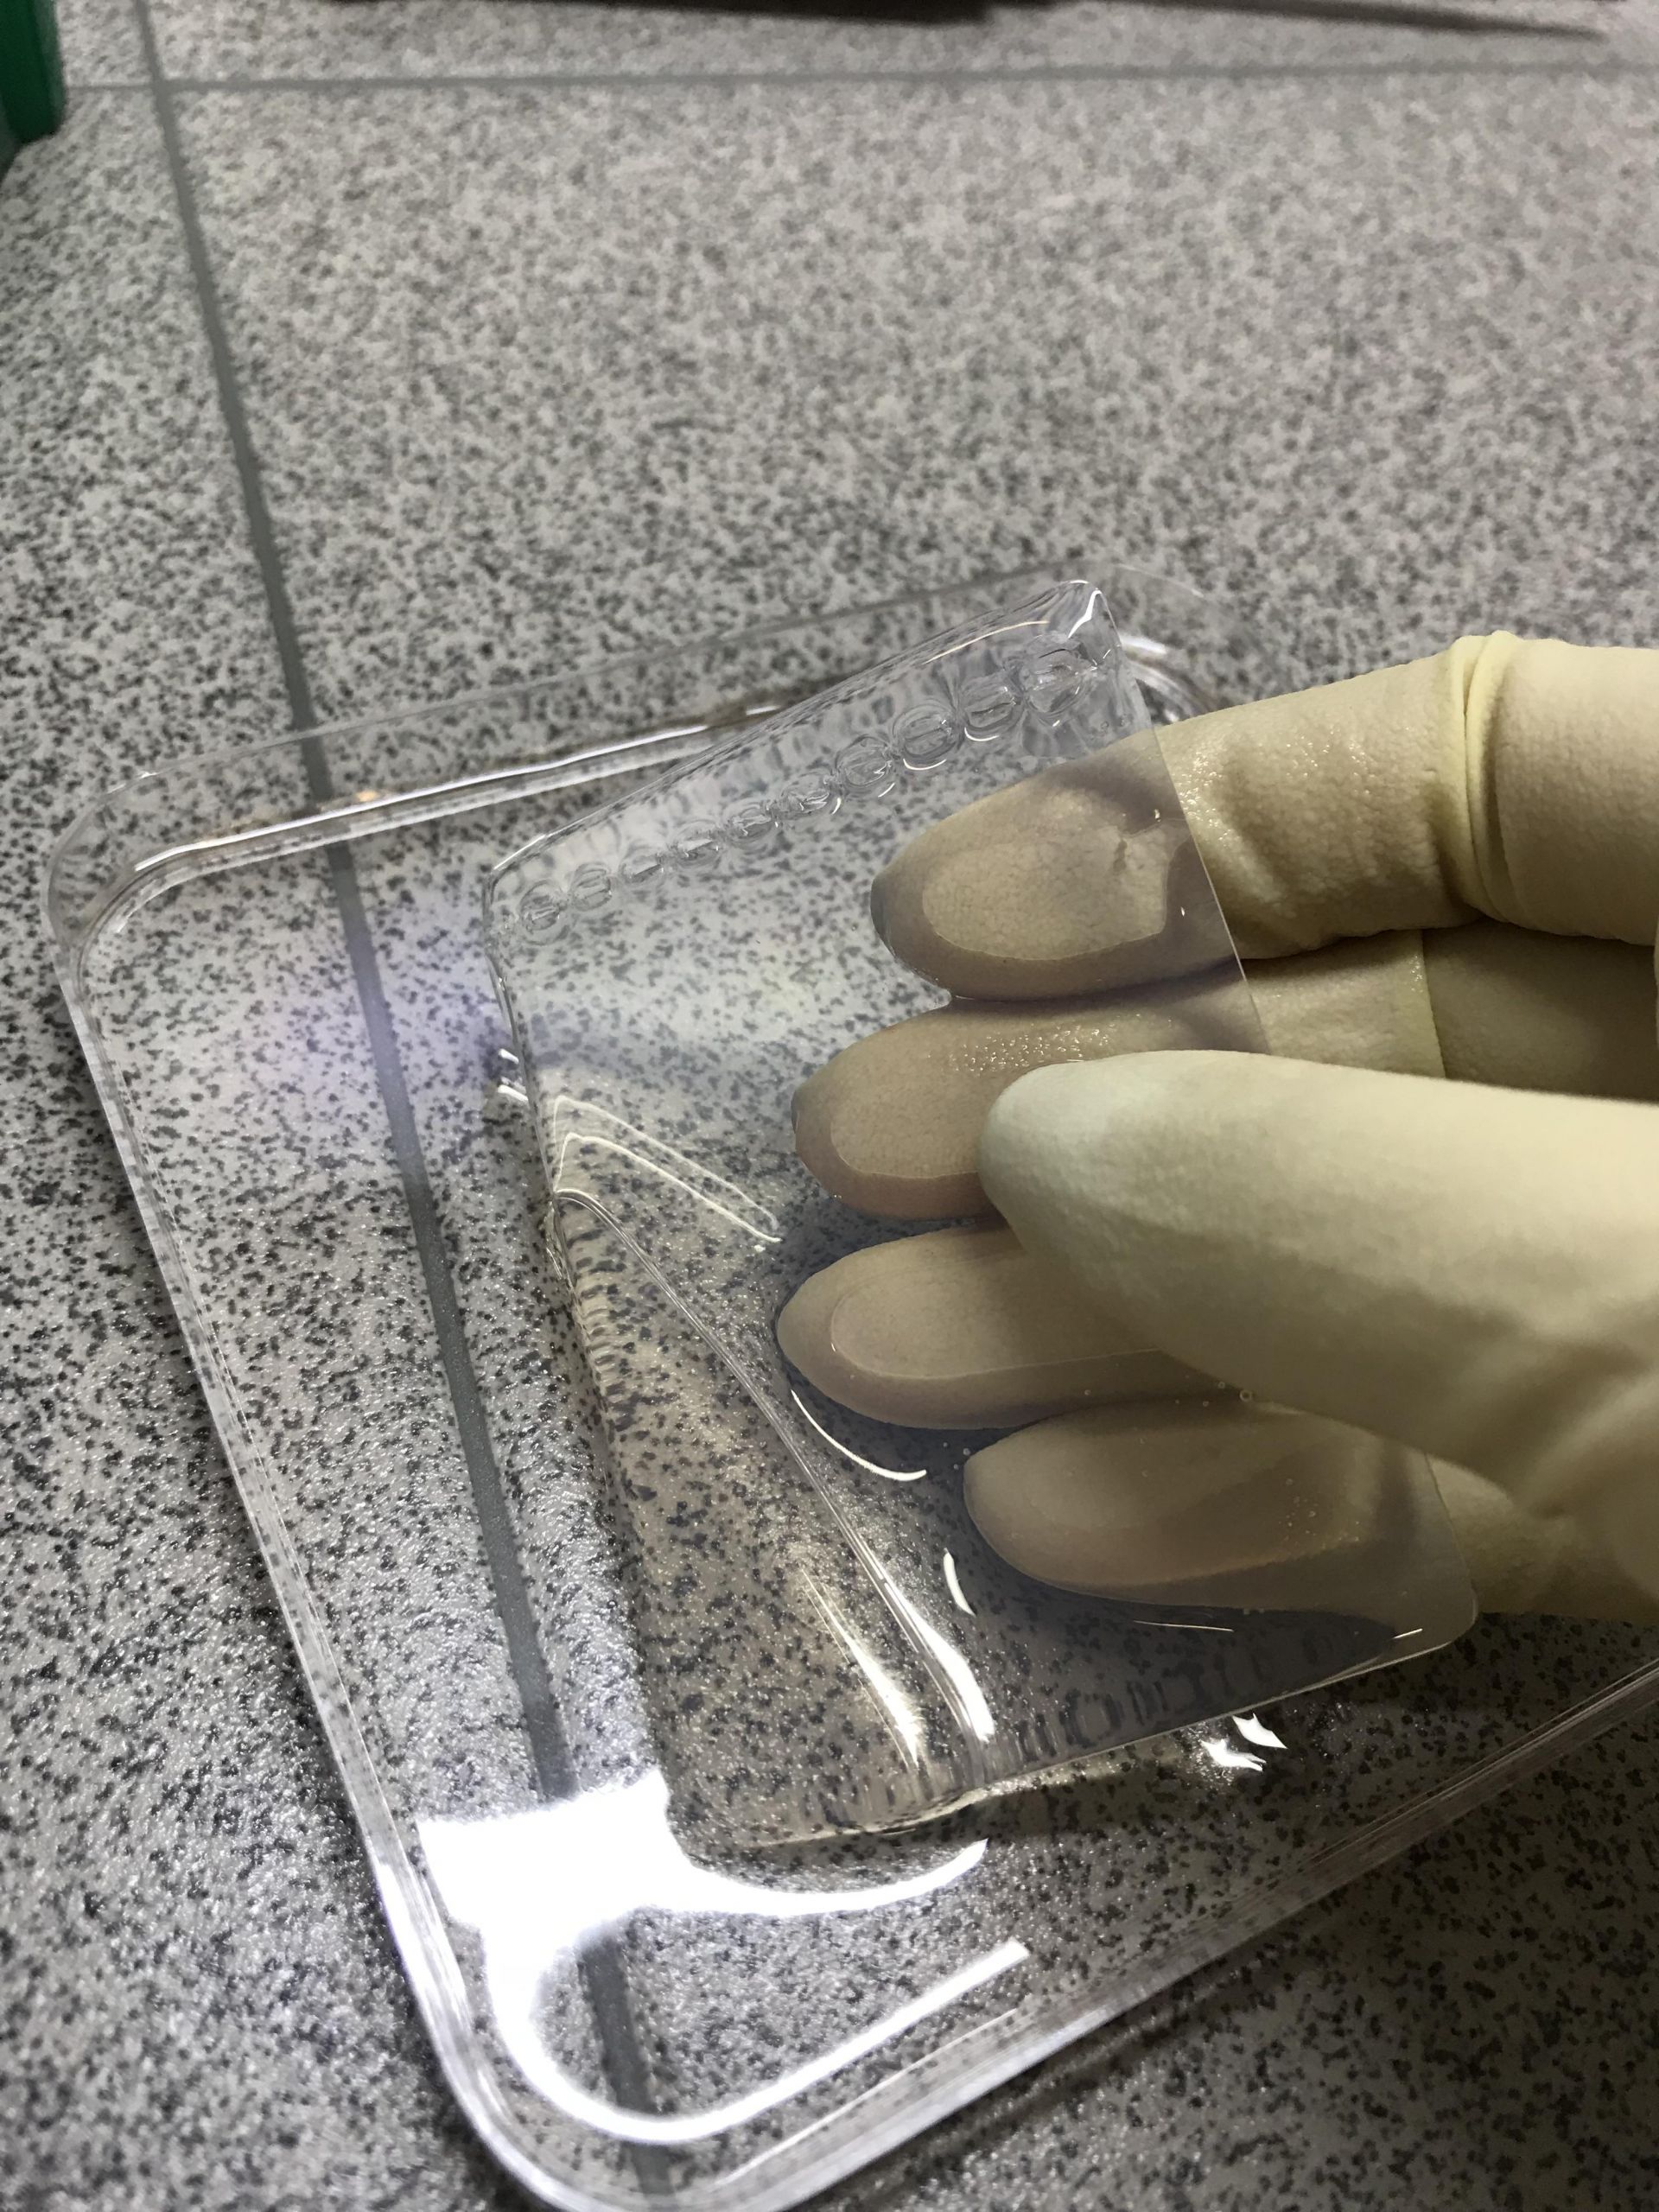
Step 10.
Place the gel into a container filled with the prepared solution. Incubate for 10-15 min at room temperature.

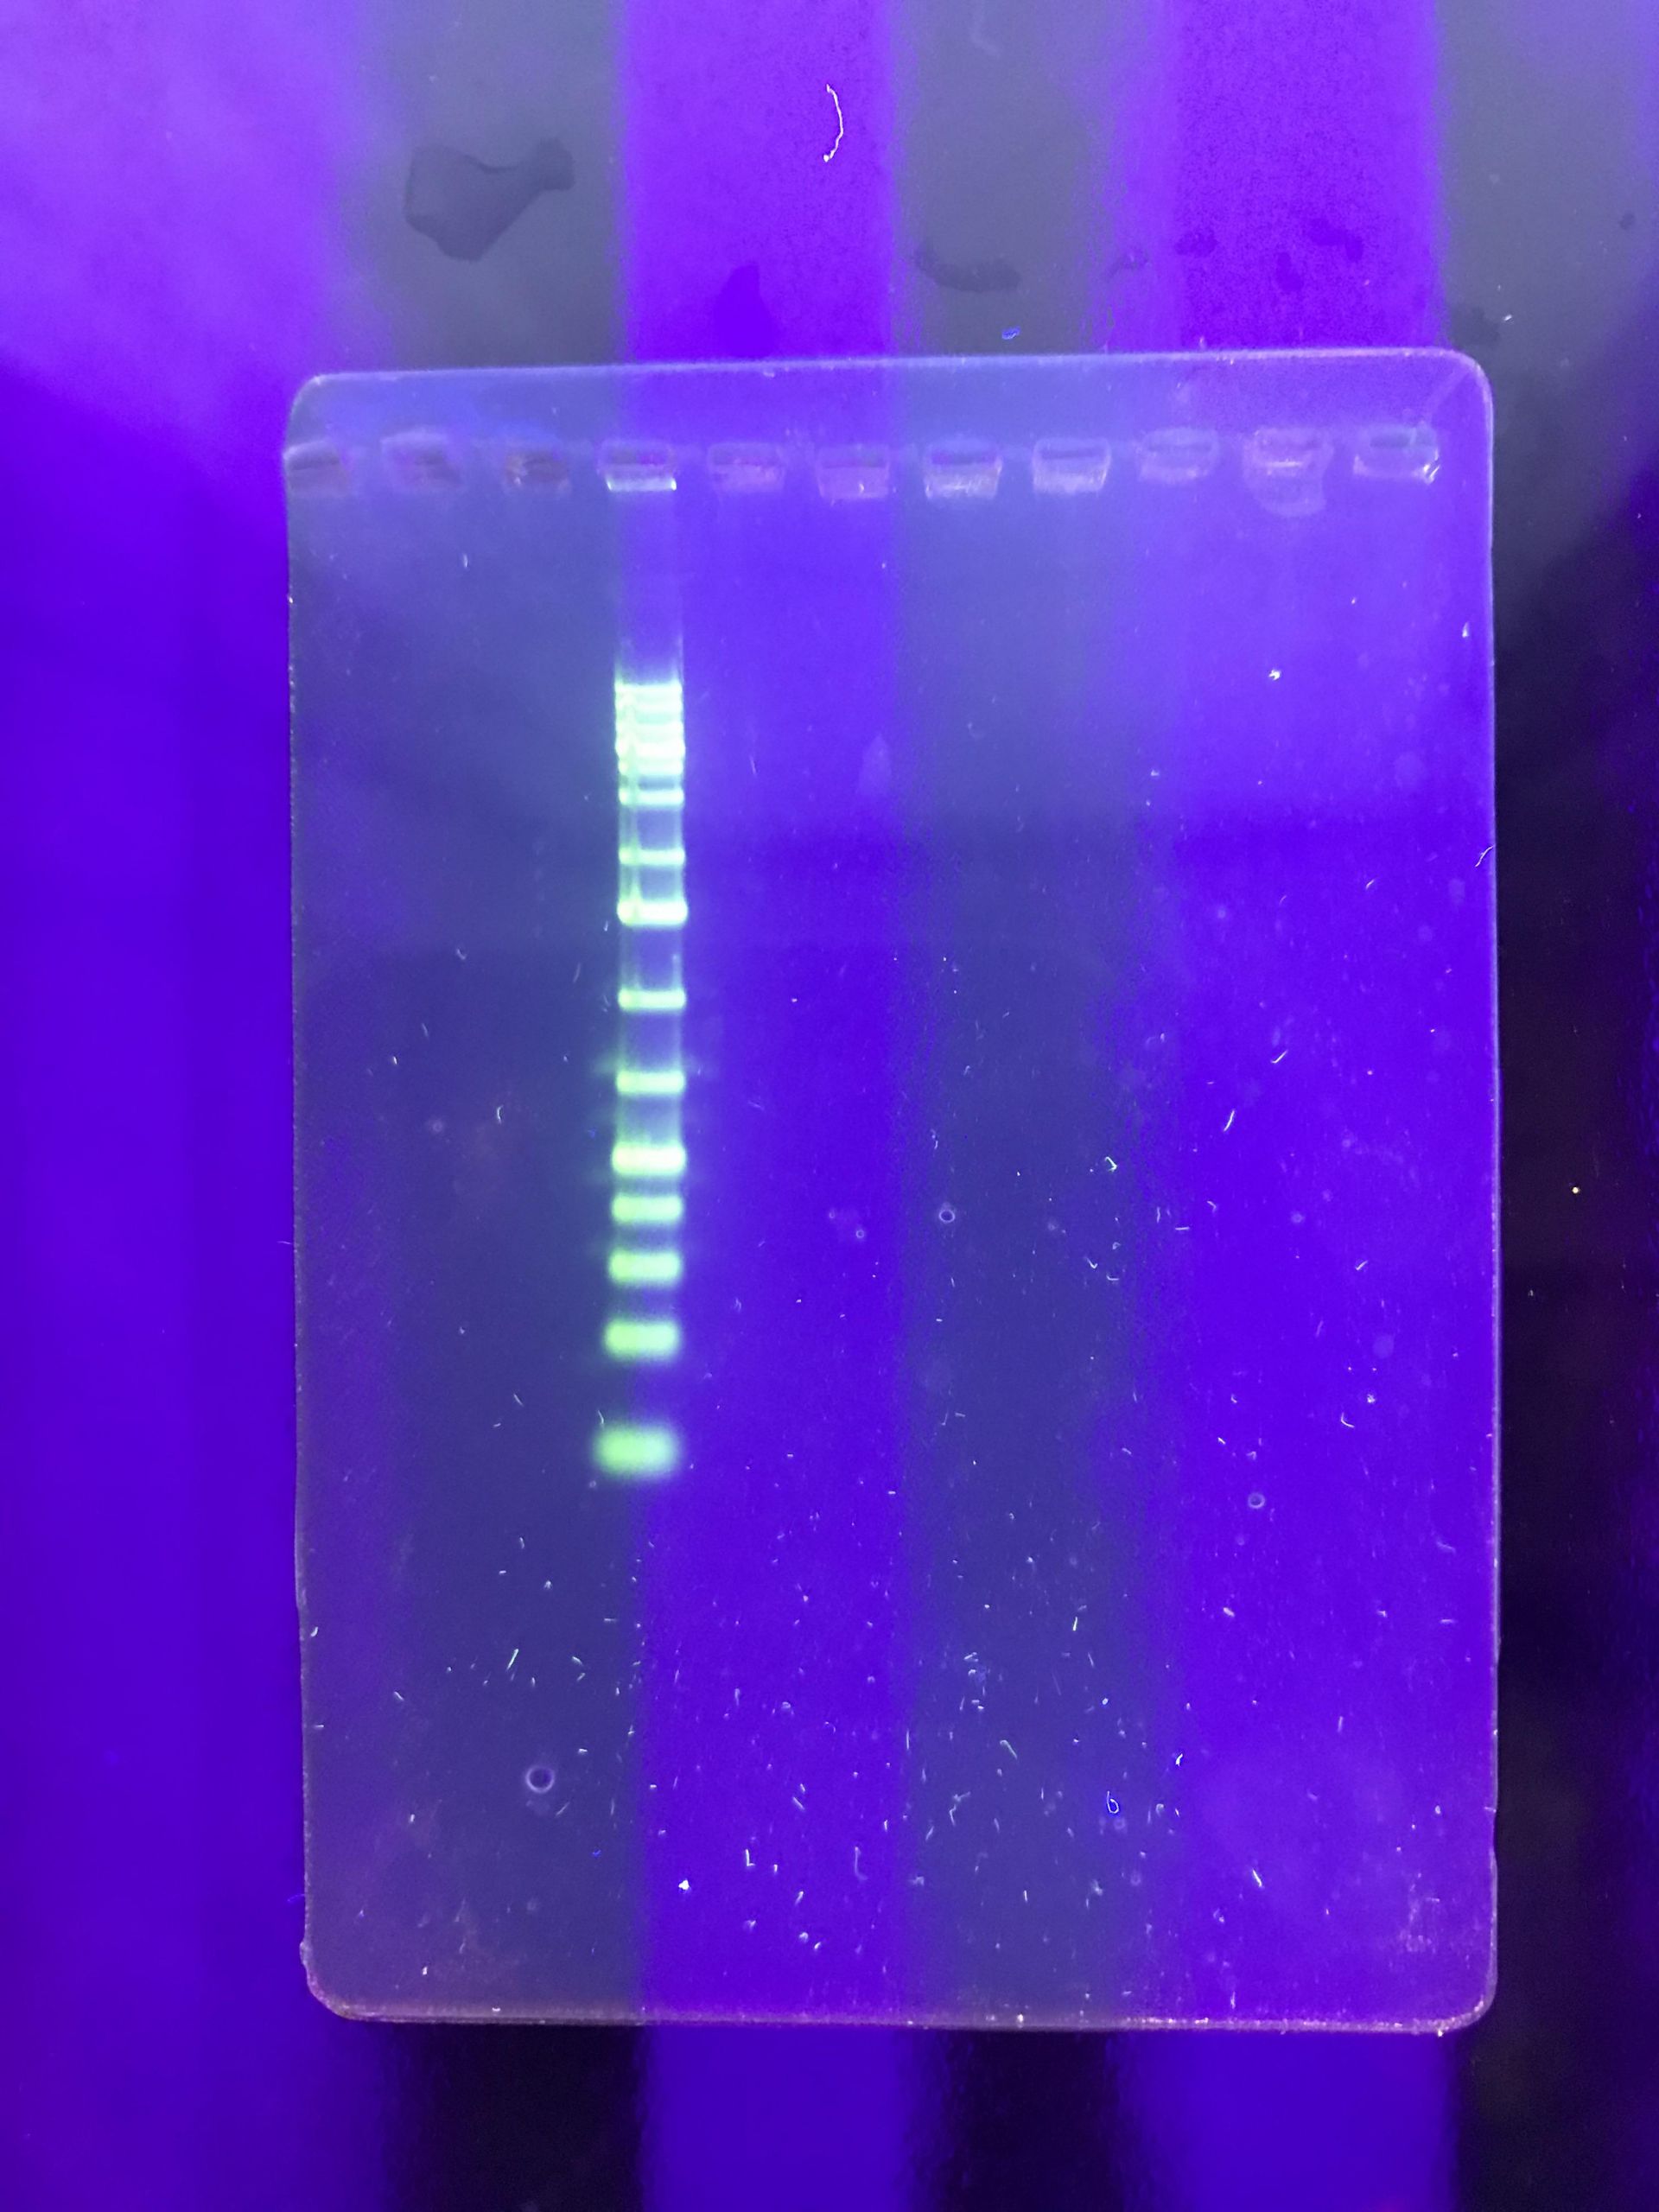
Step 11.
Visualize your DNA fragments in a UV-light transilluminator.
DNA fragments are separated in the gel depending on their length (smaller molecules travel faster than larger molecules in gel).